DIY Food Photography Tips
Food photography has become increasingly popular in recent years, with the rise of social media platforms such as Instagram and Pinterest. Shooting food photography can be a fun and rewarding experience, but it also requires some knowledge and skills to get the best results.
During my time as a designer over the last decade, I’ve worked with a range of different food brands. I love working for food businesses and creating delicious visual content and food styling - particularly for social media and magazines!
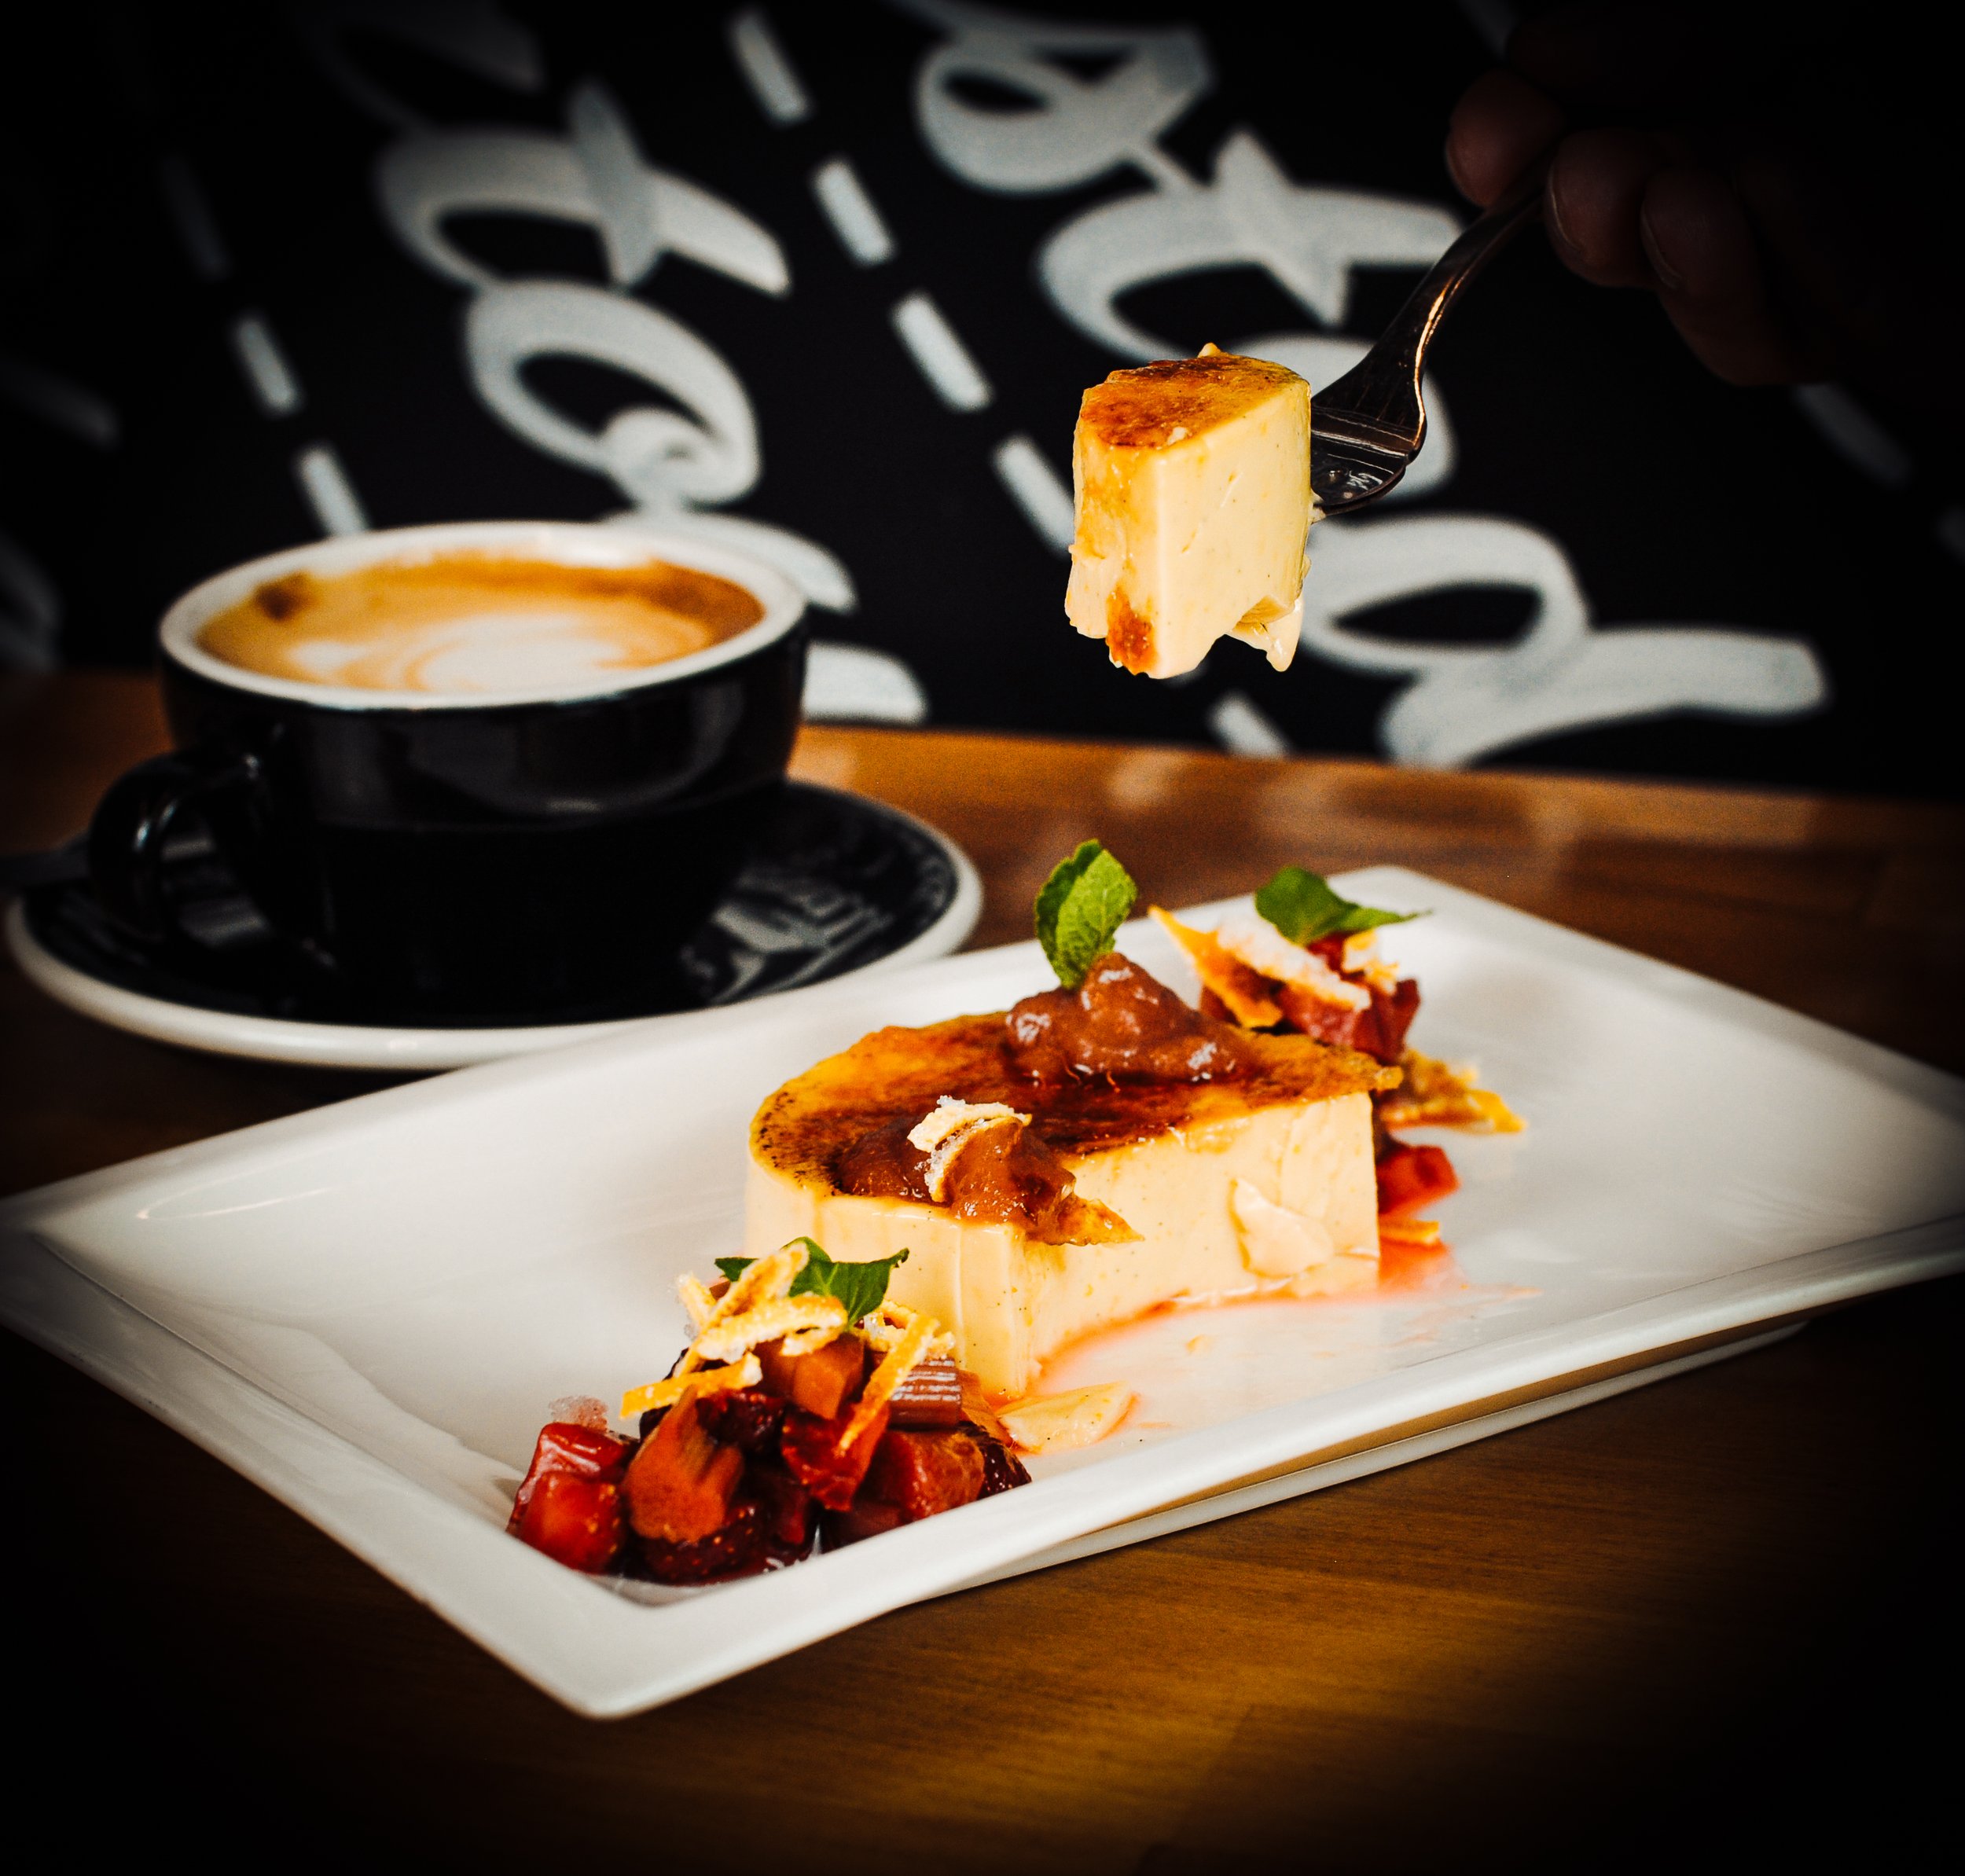
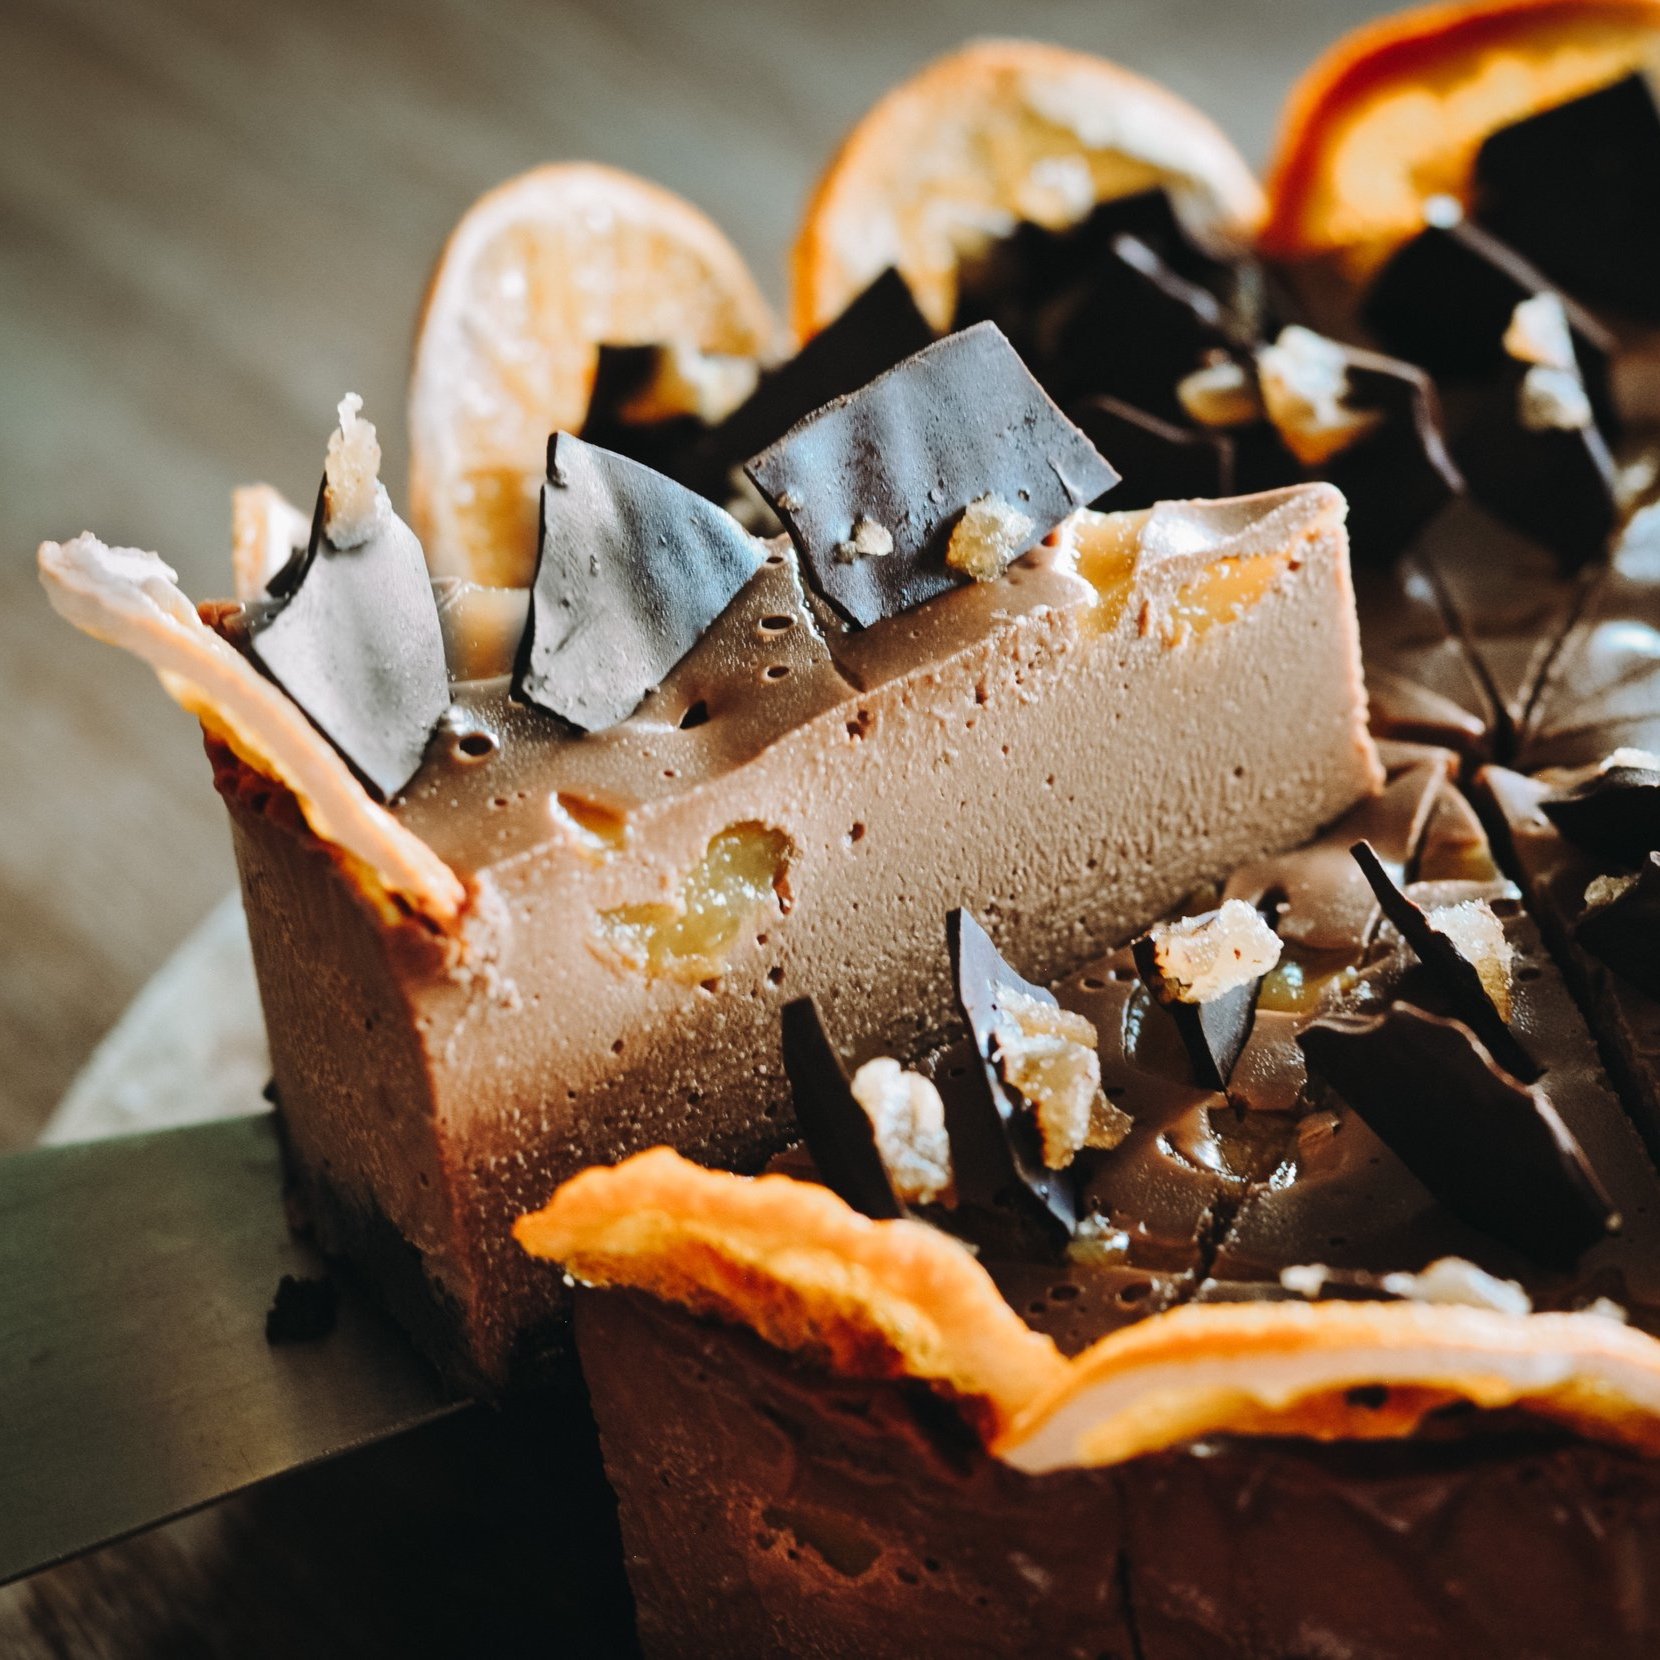
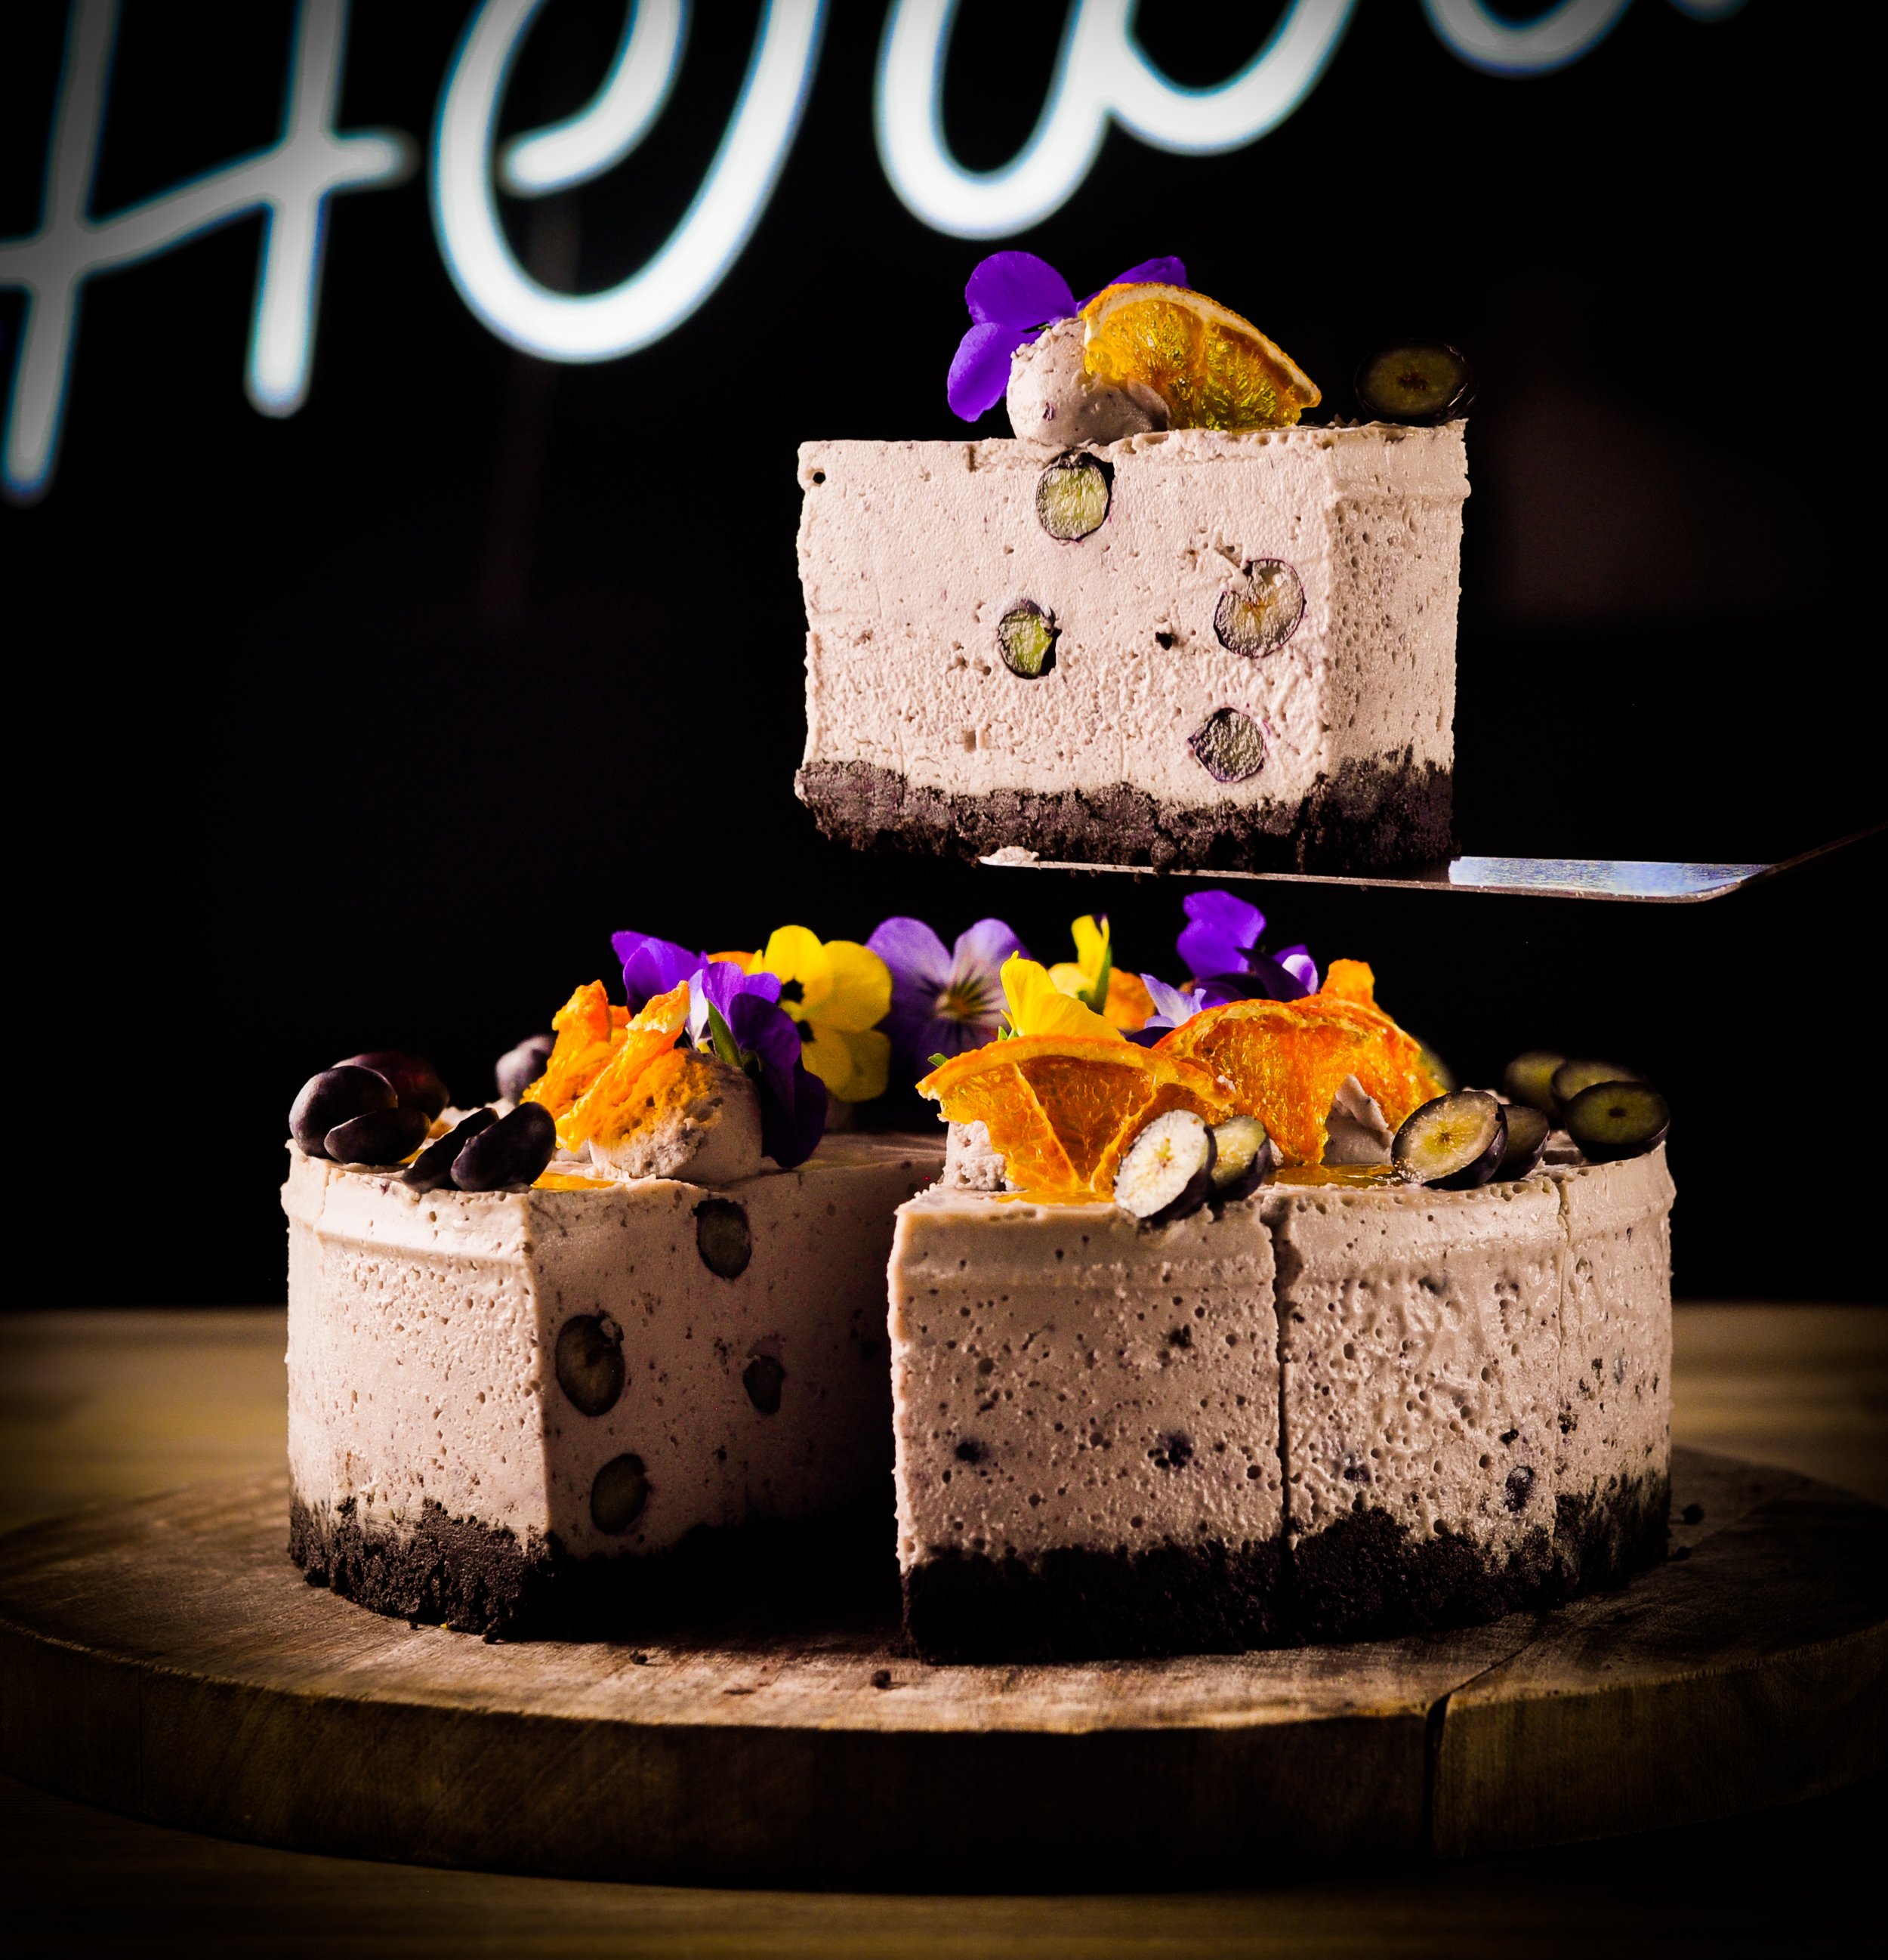
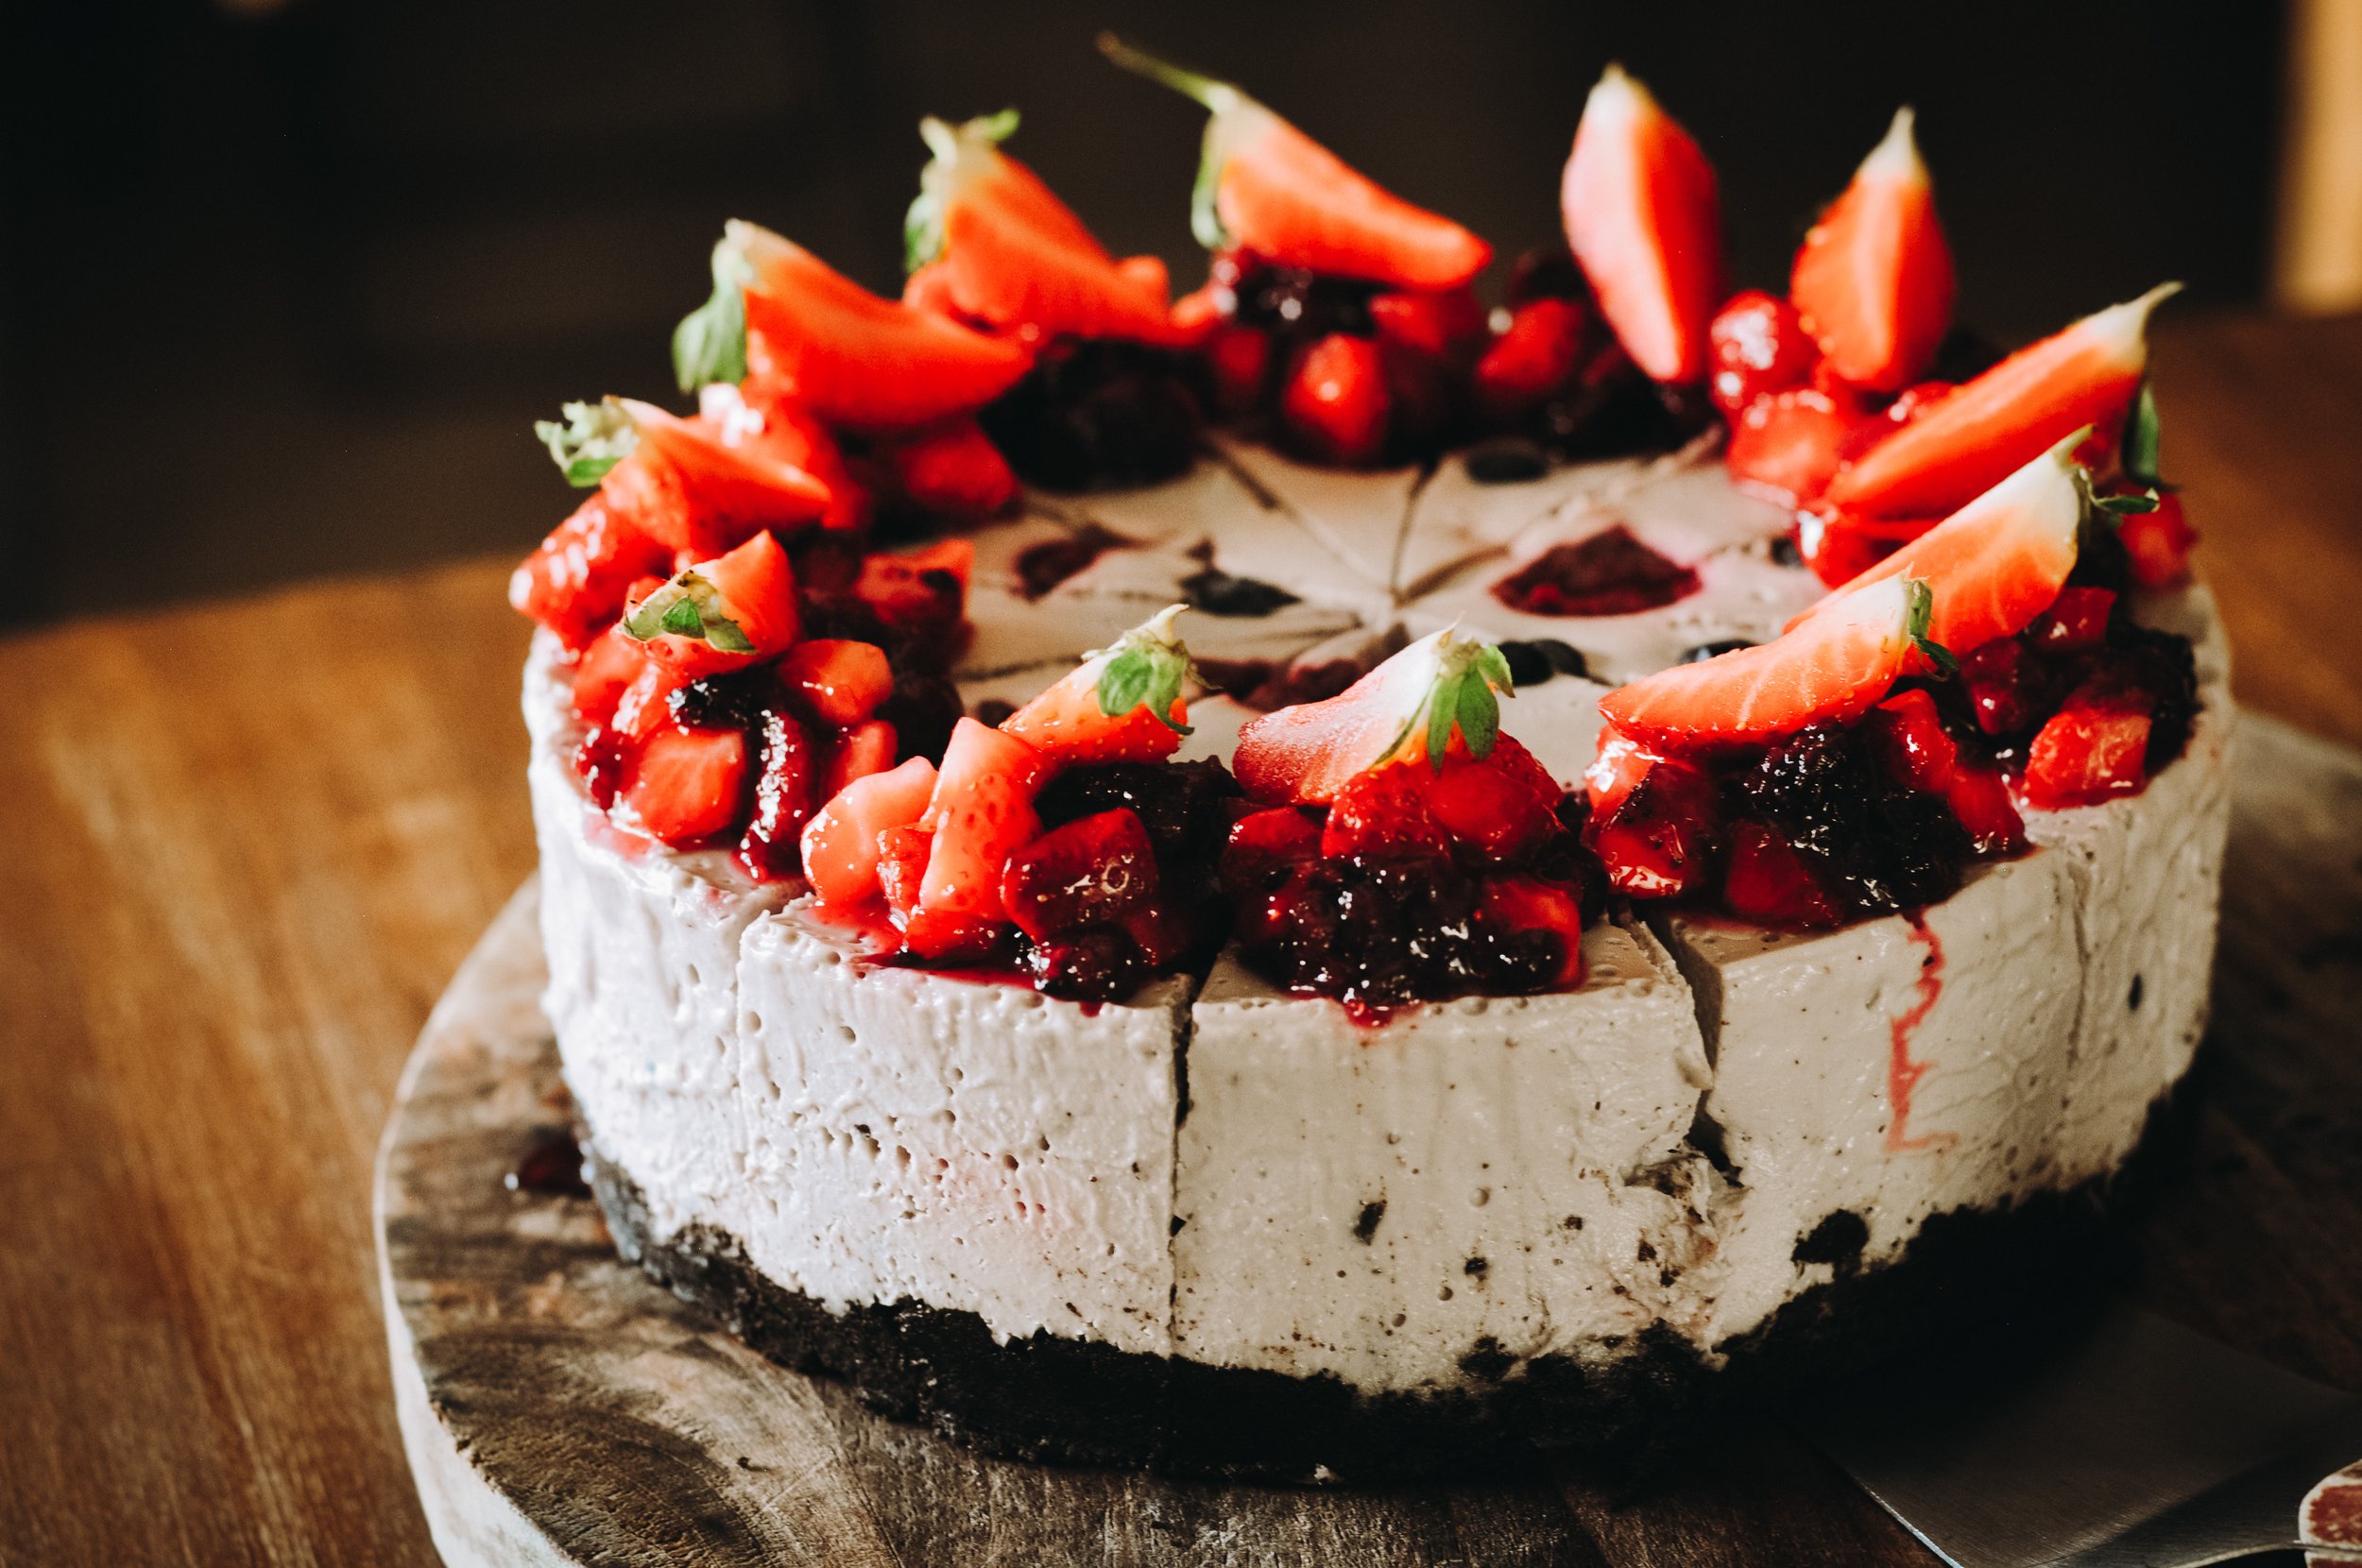
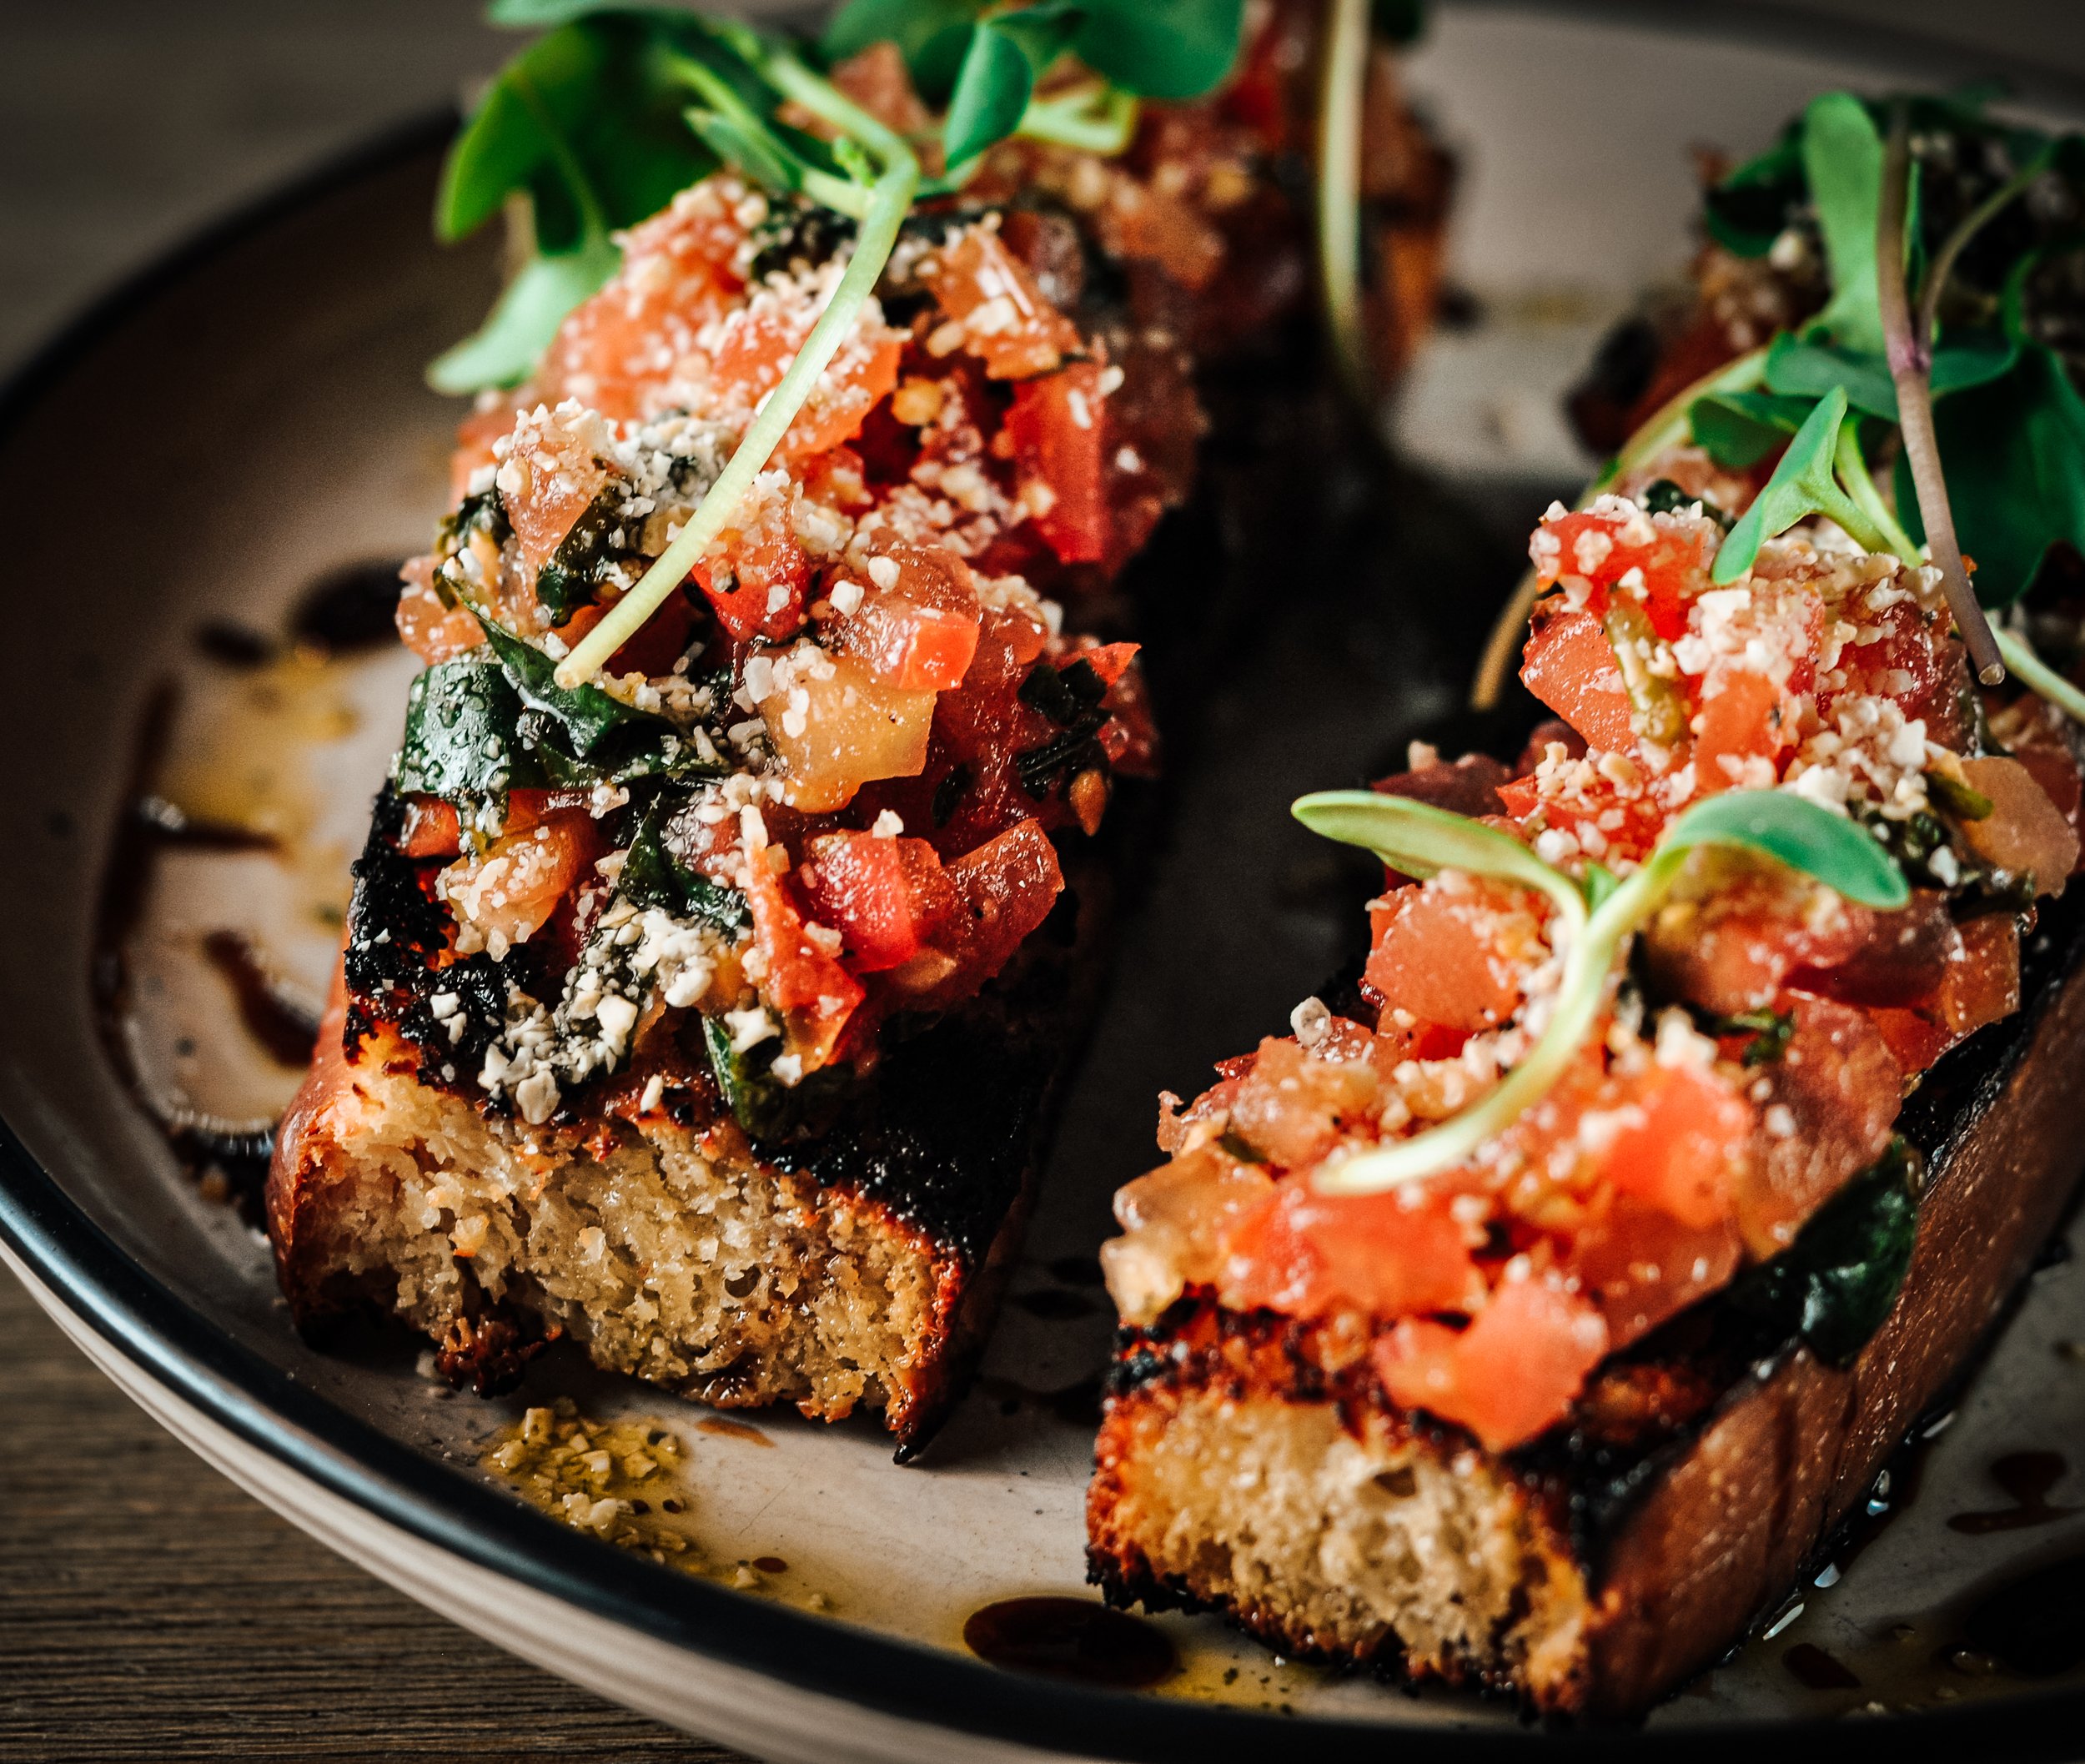
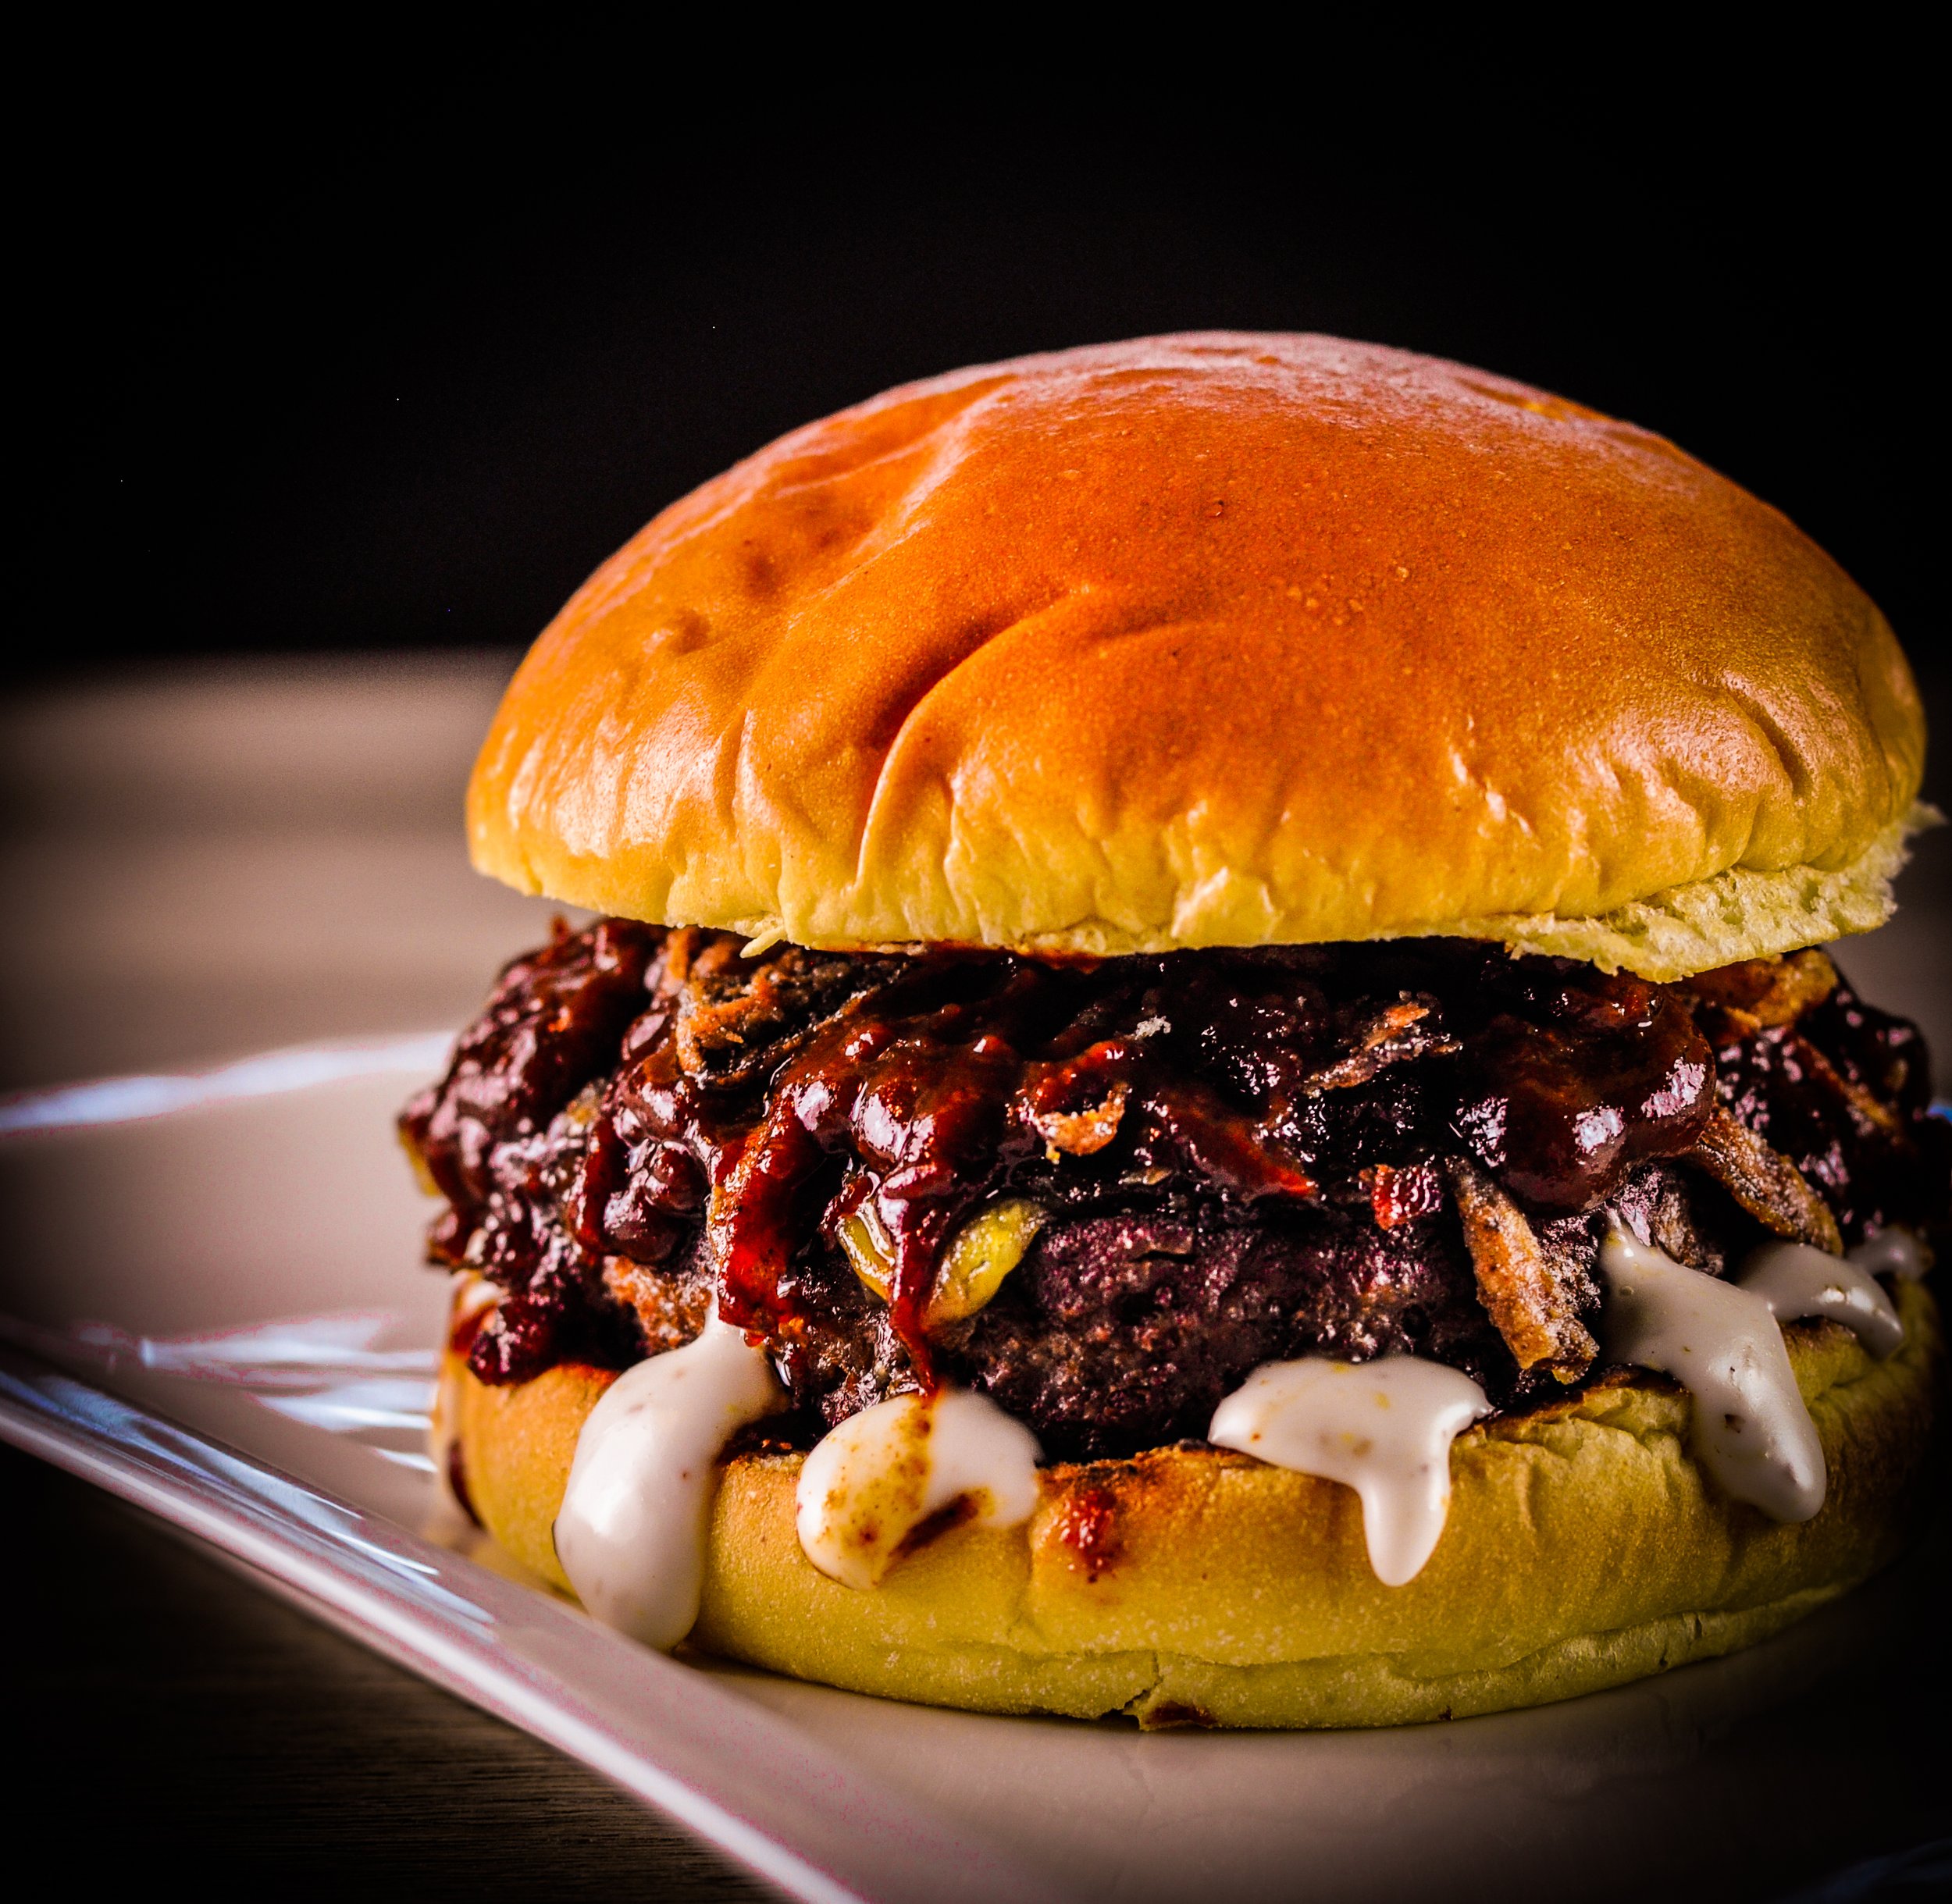
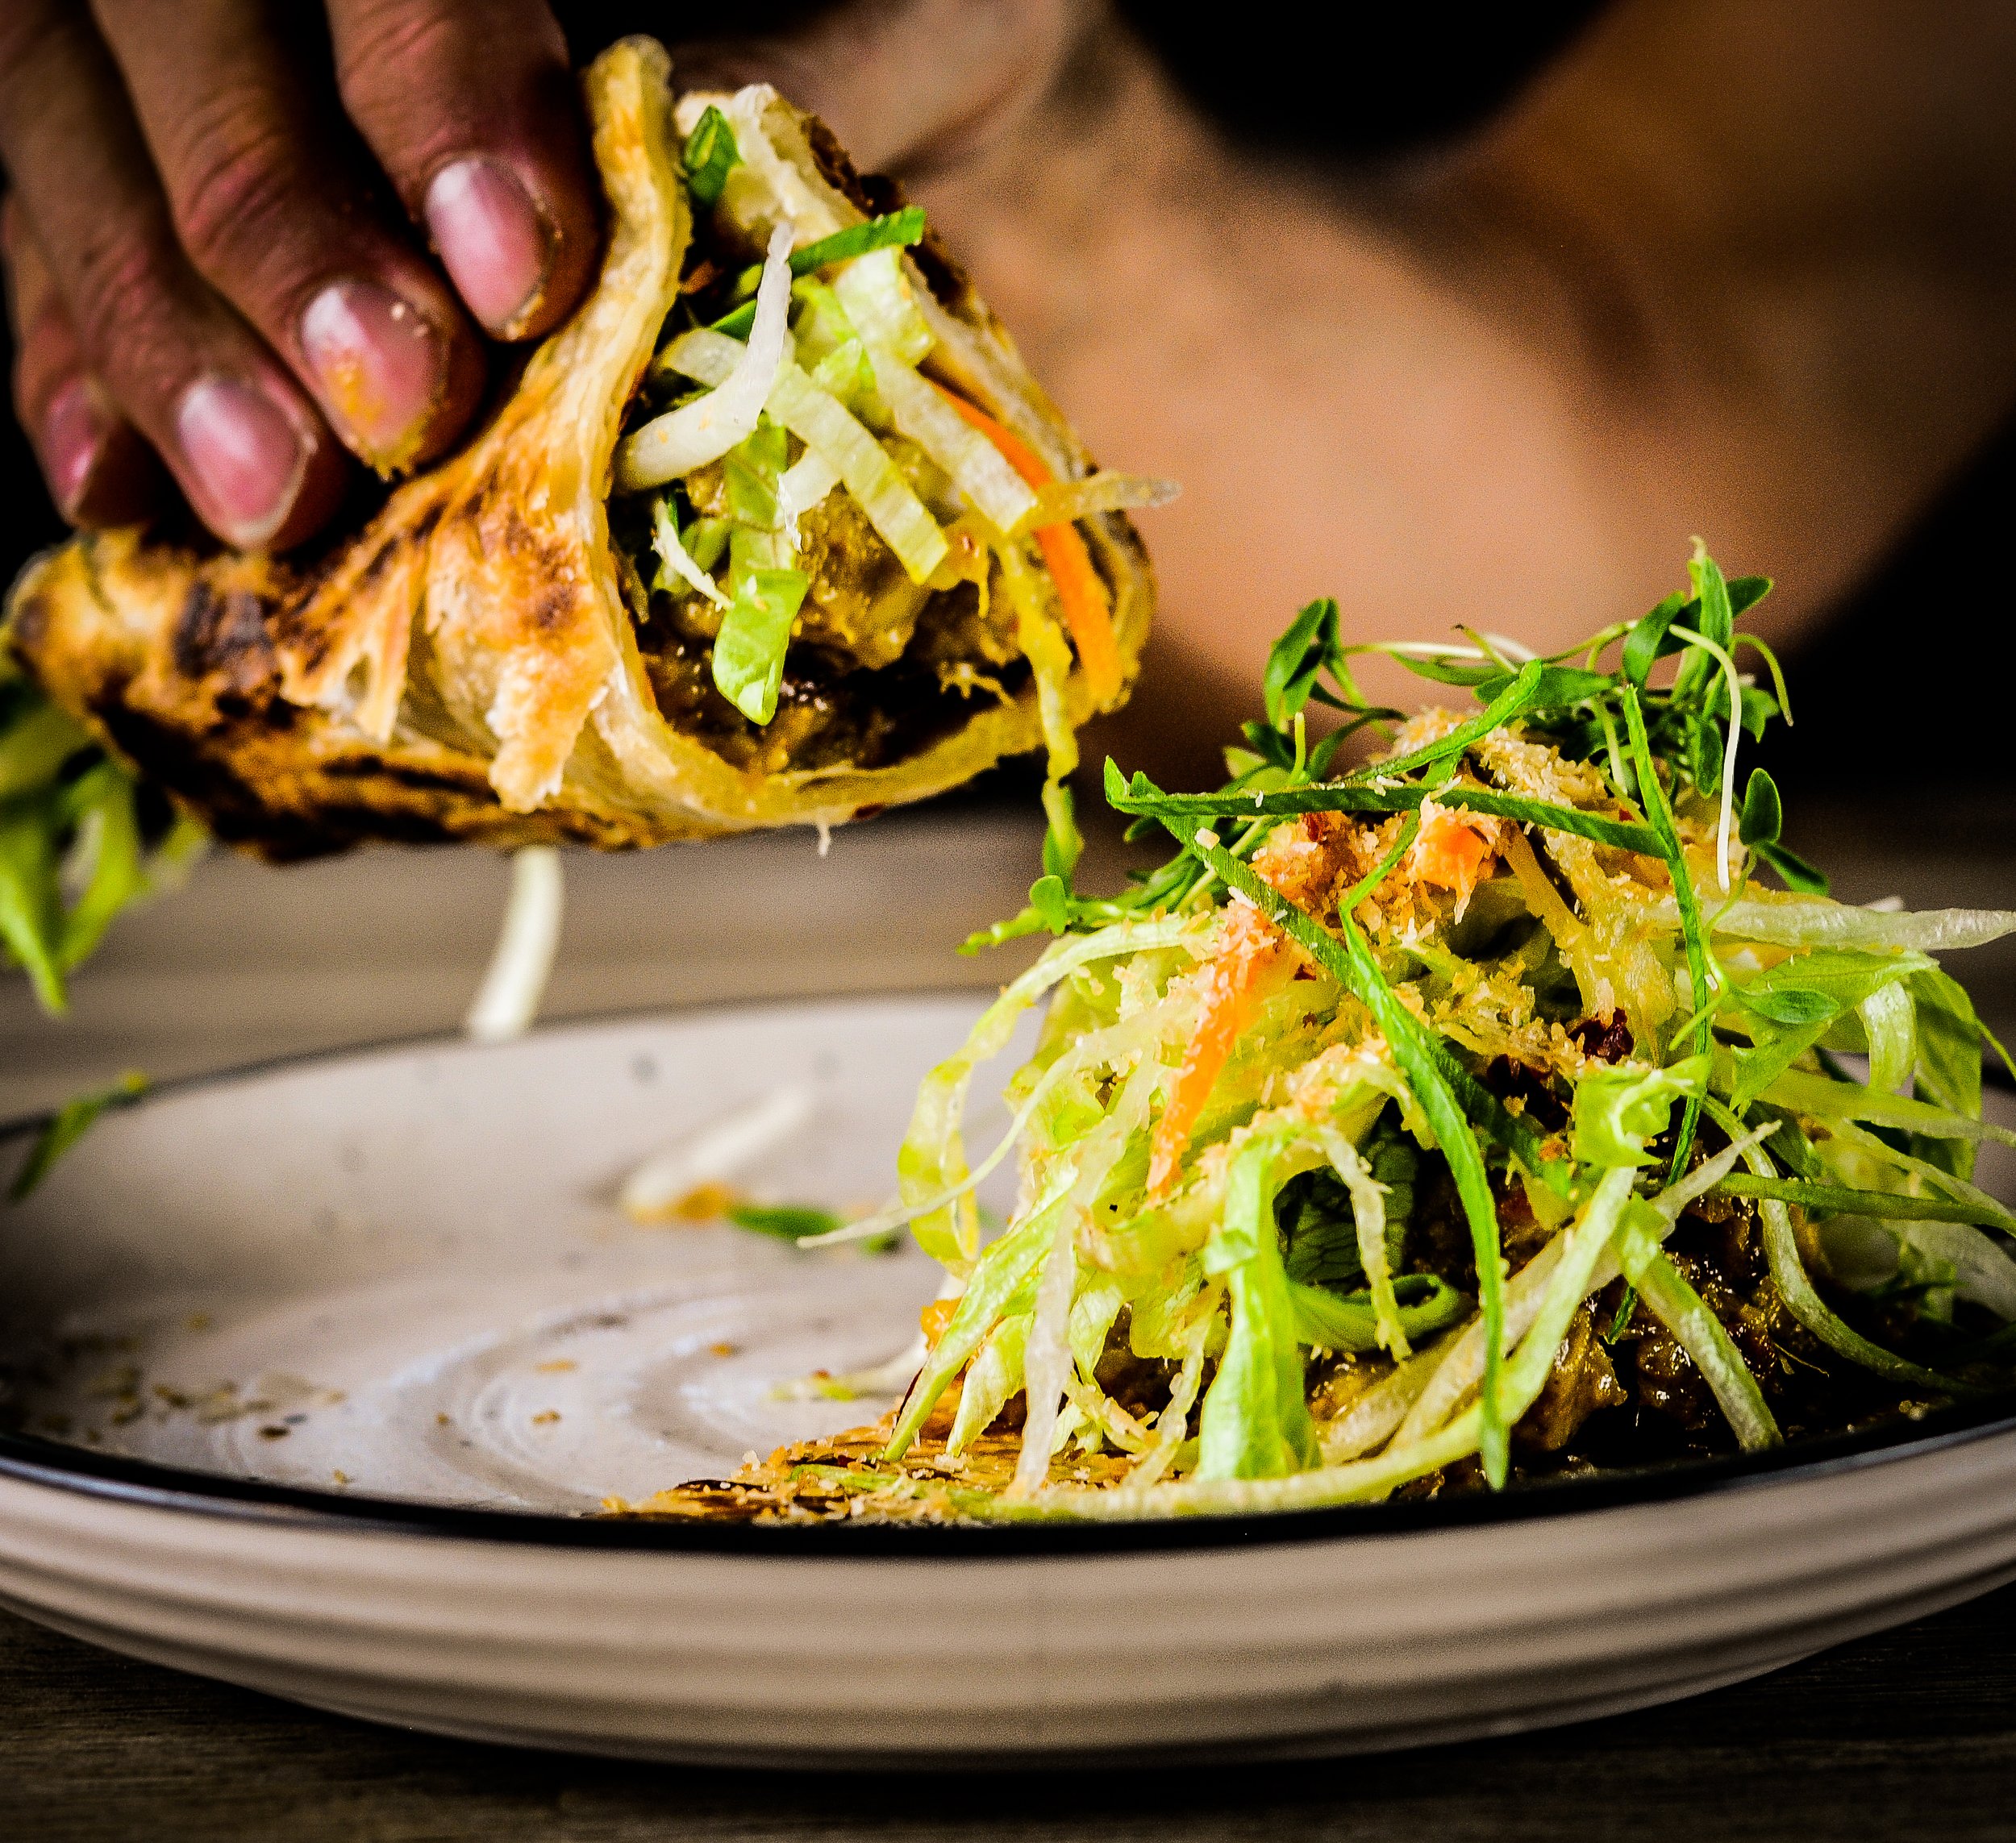
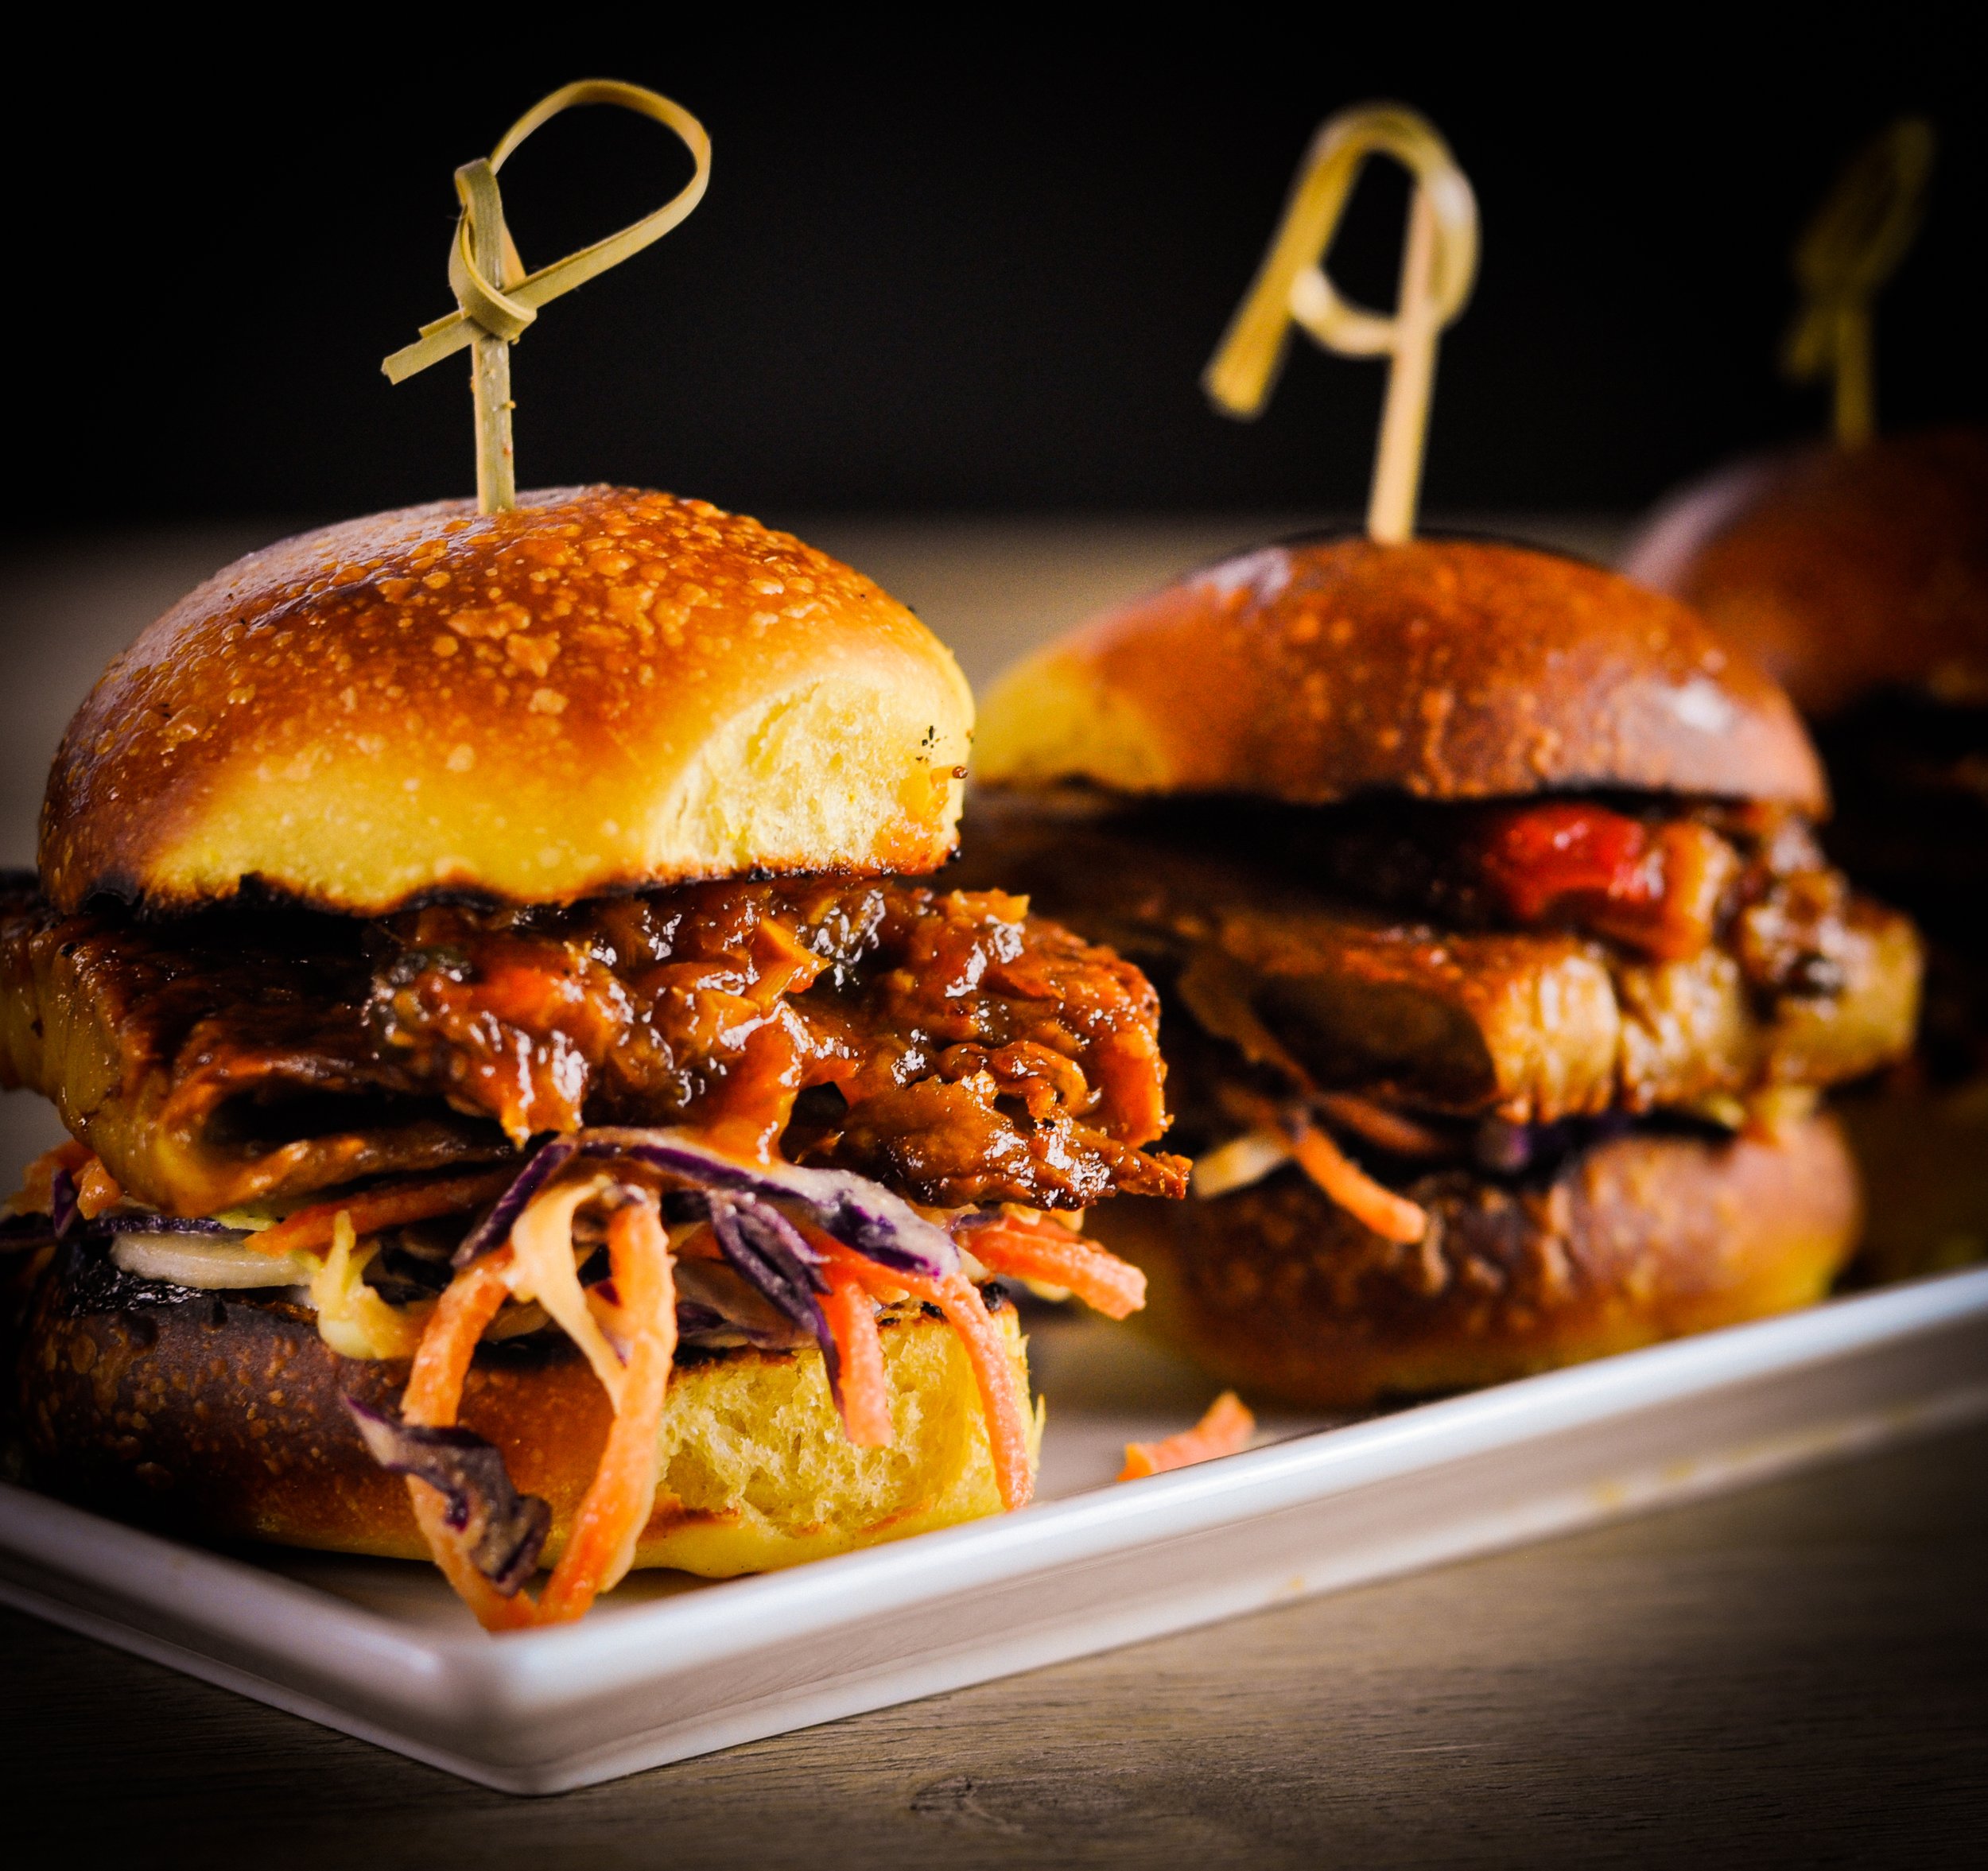
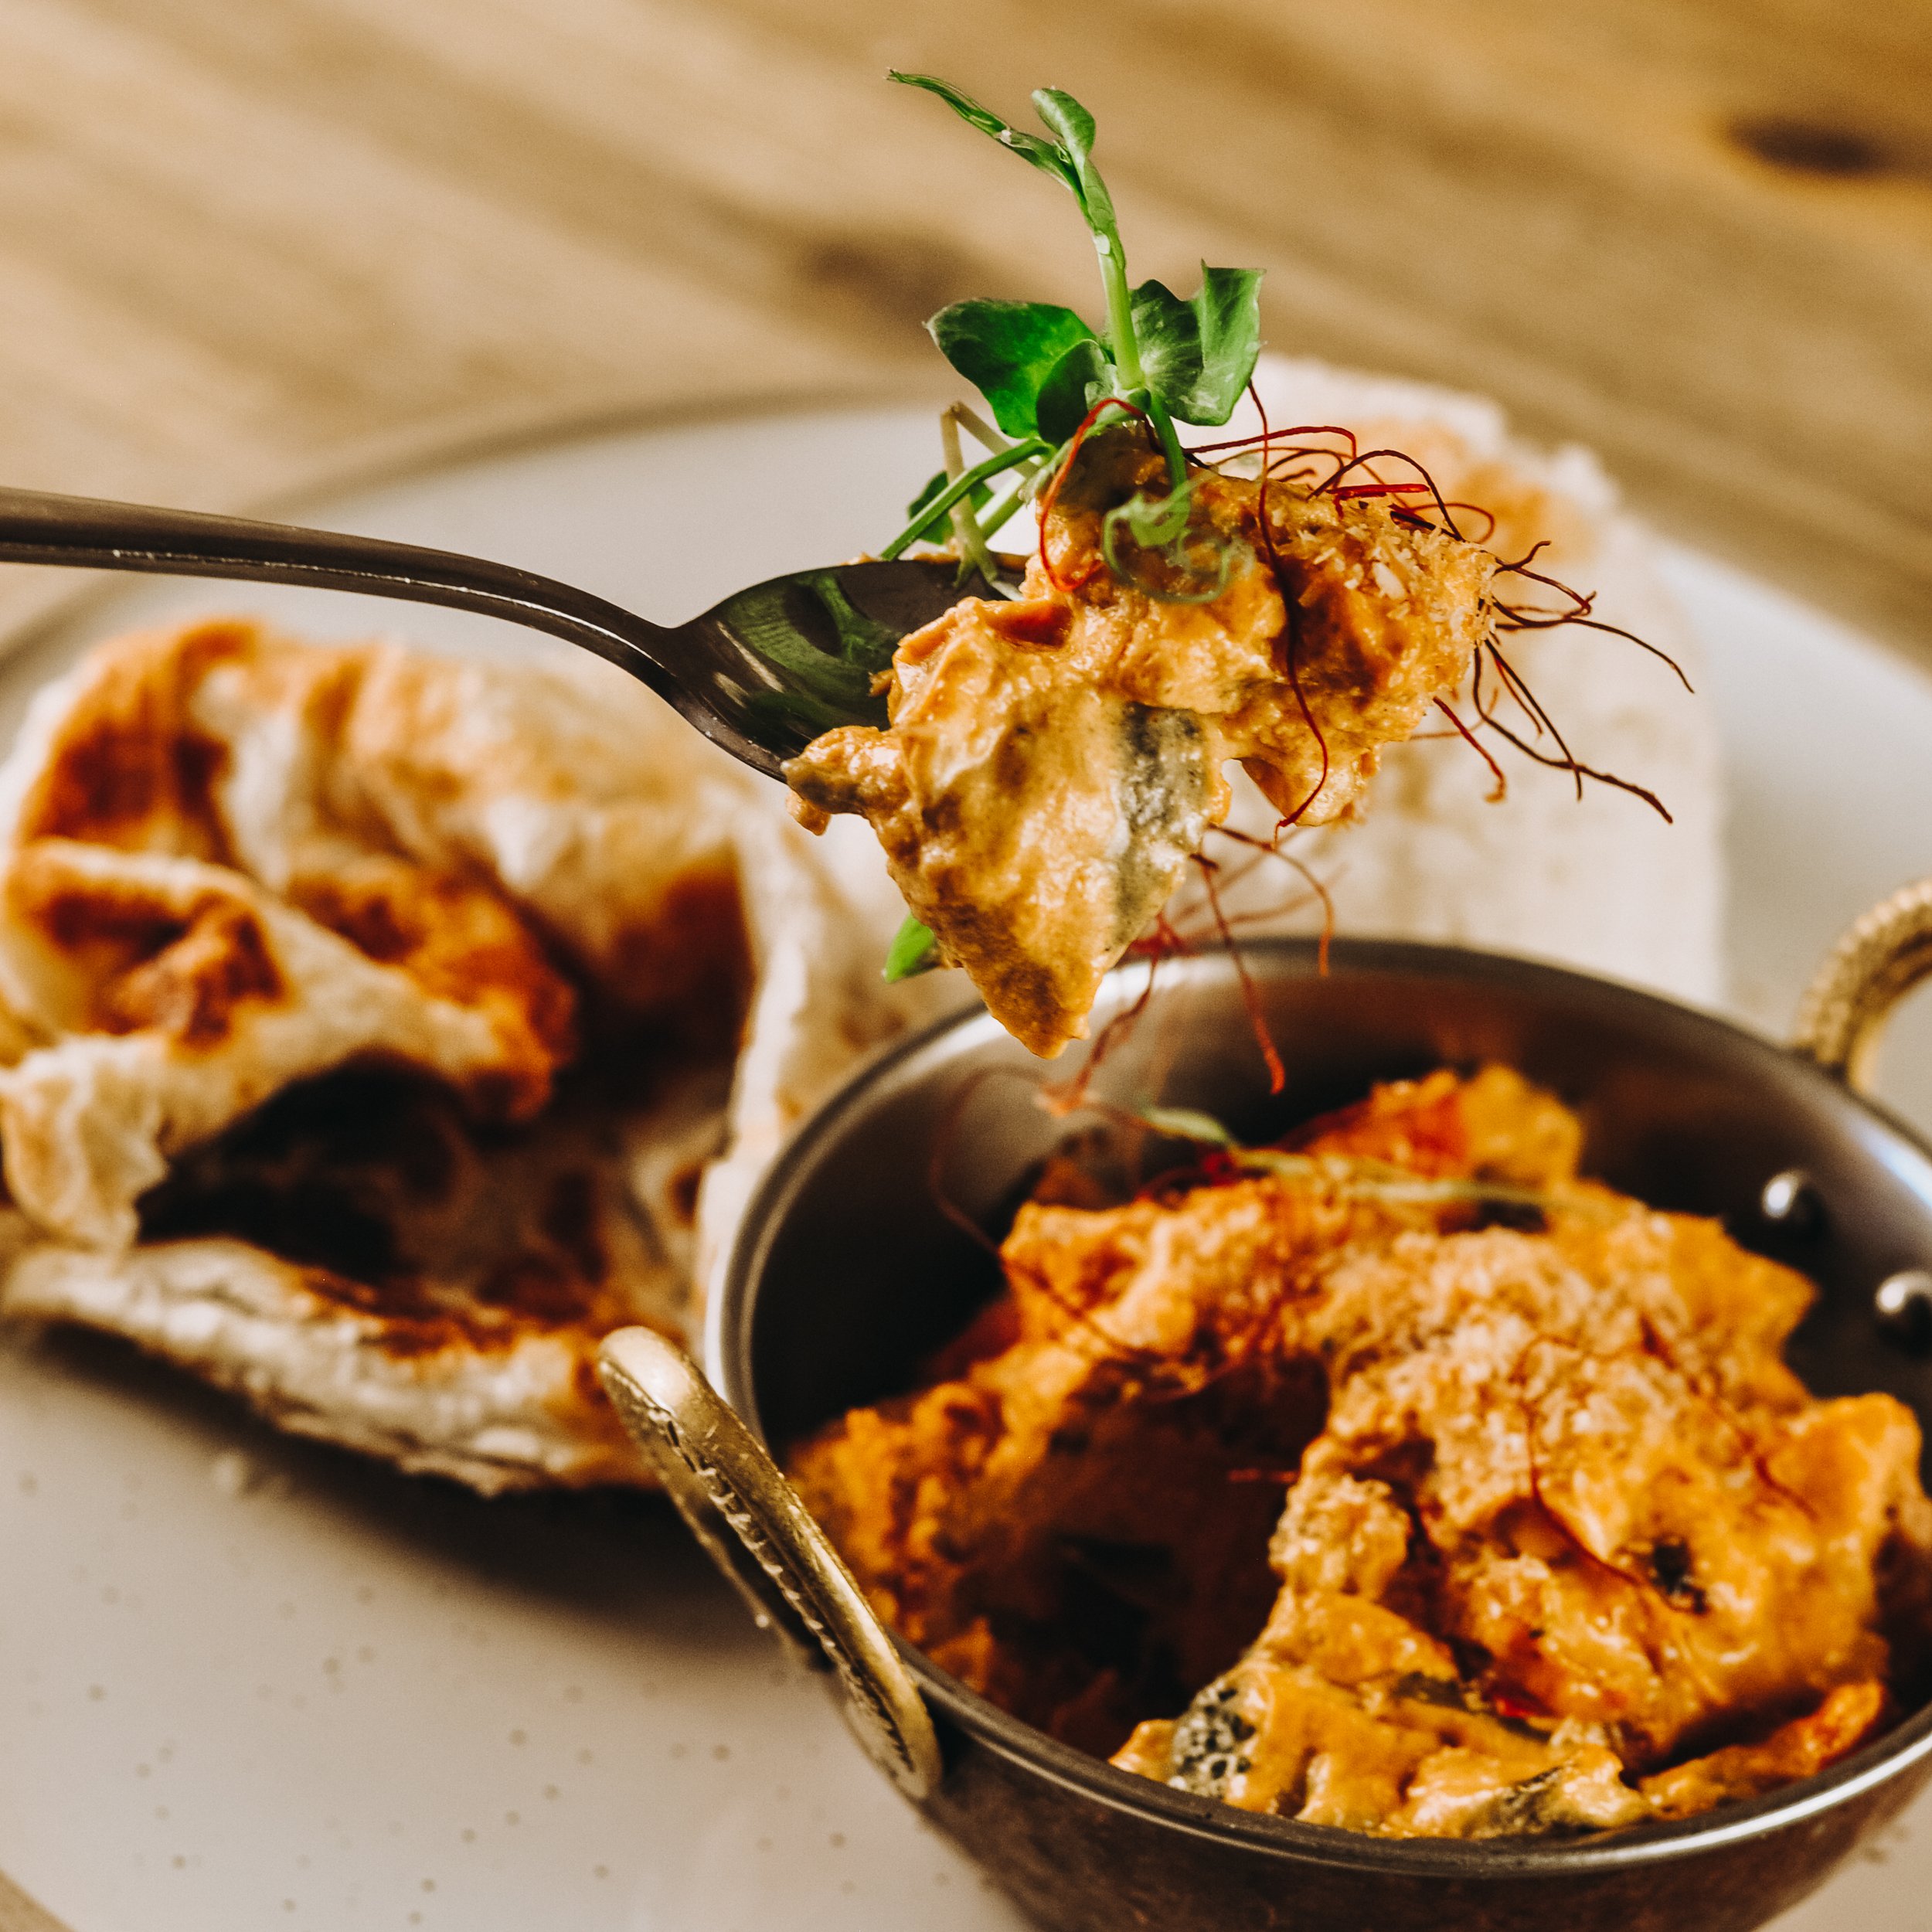
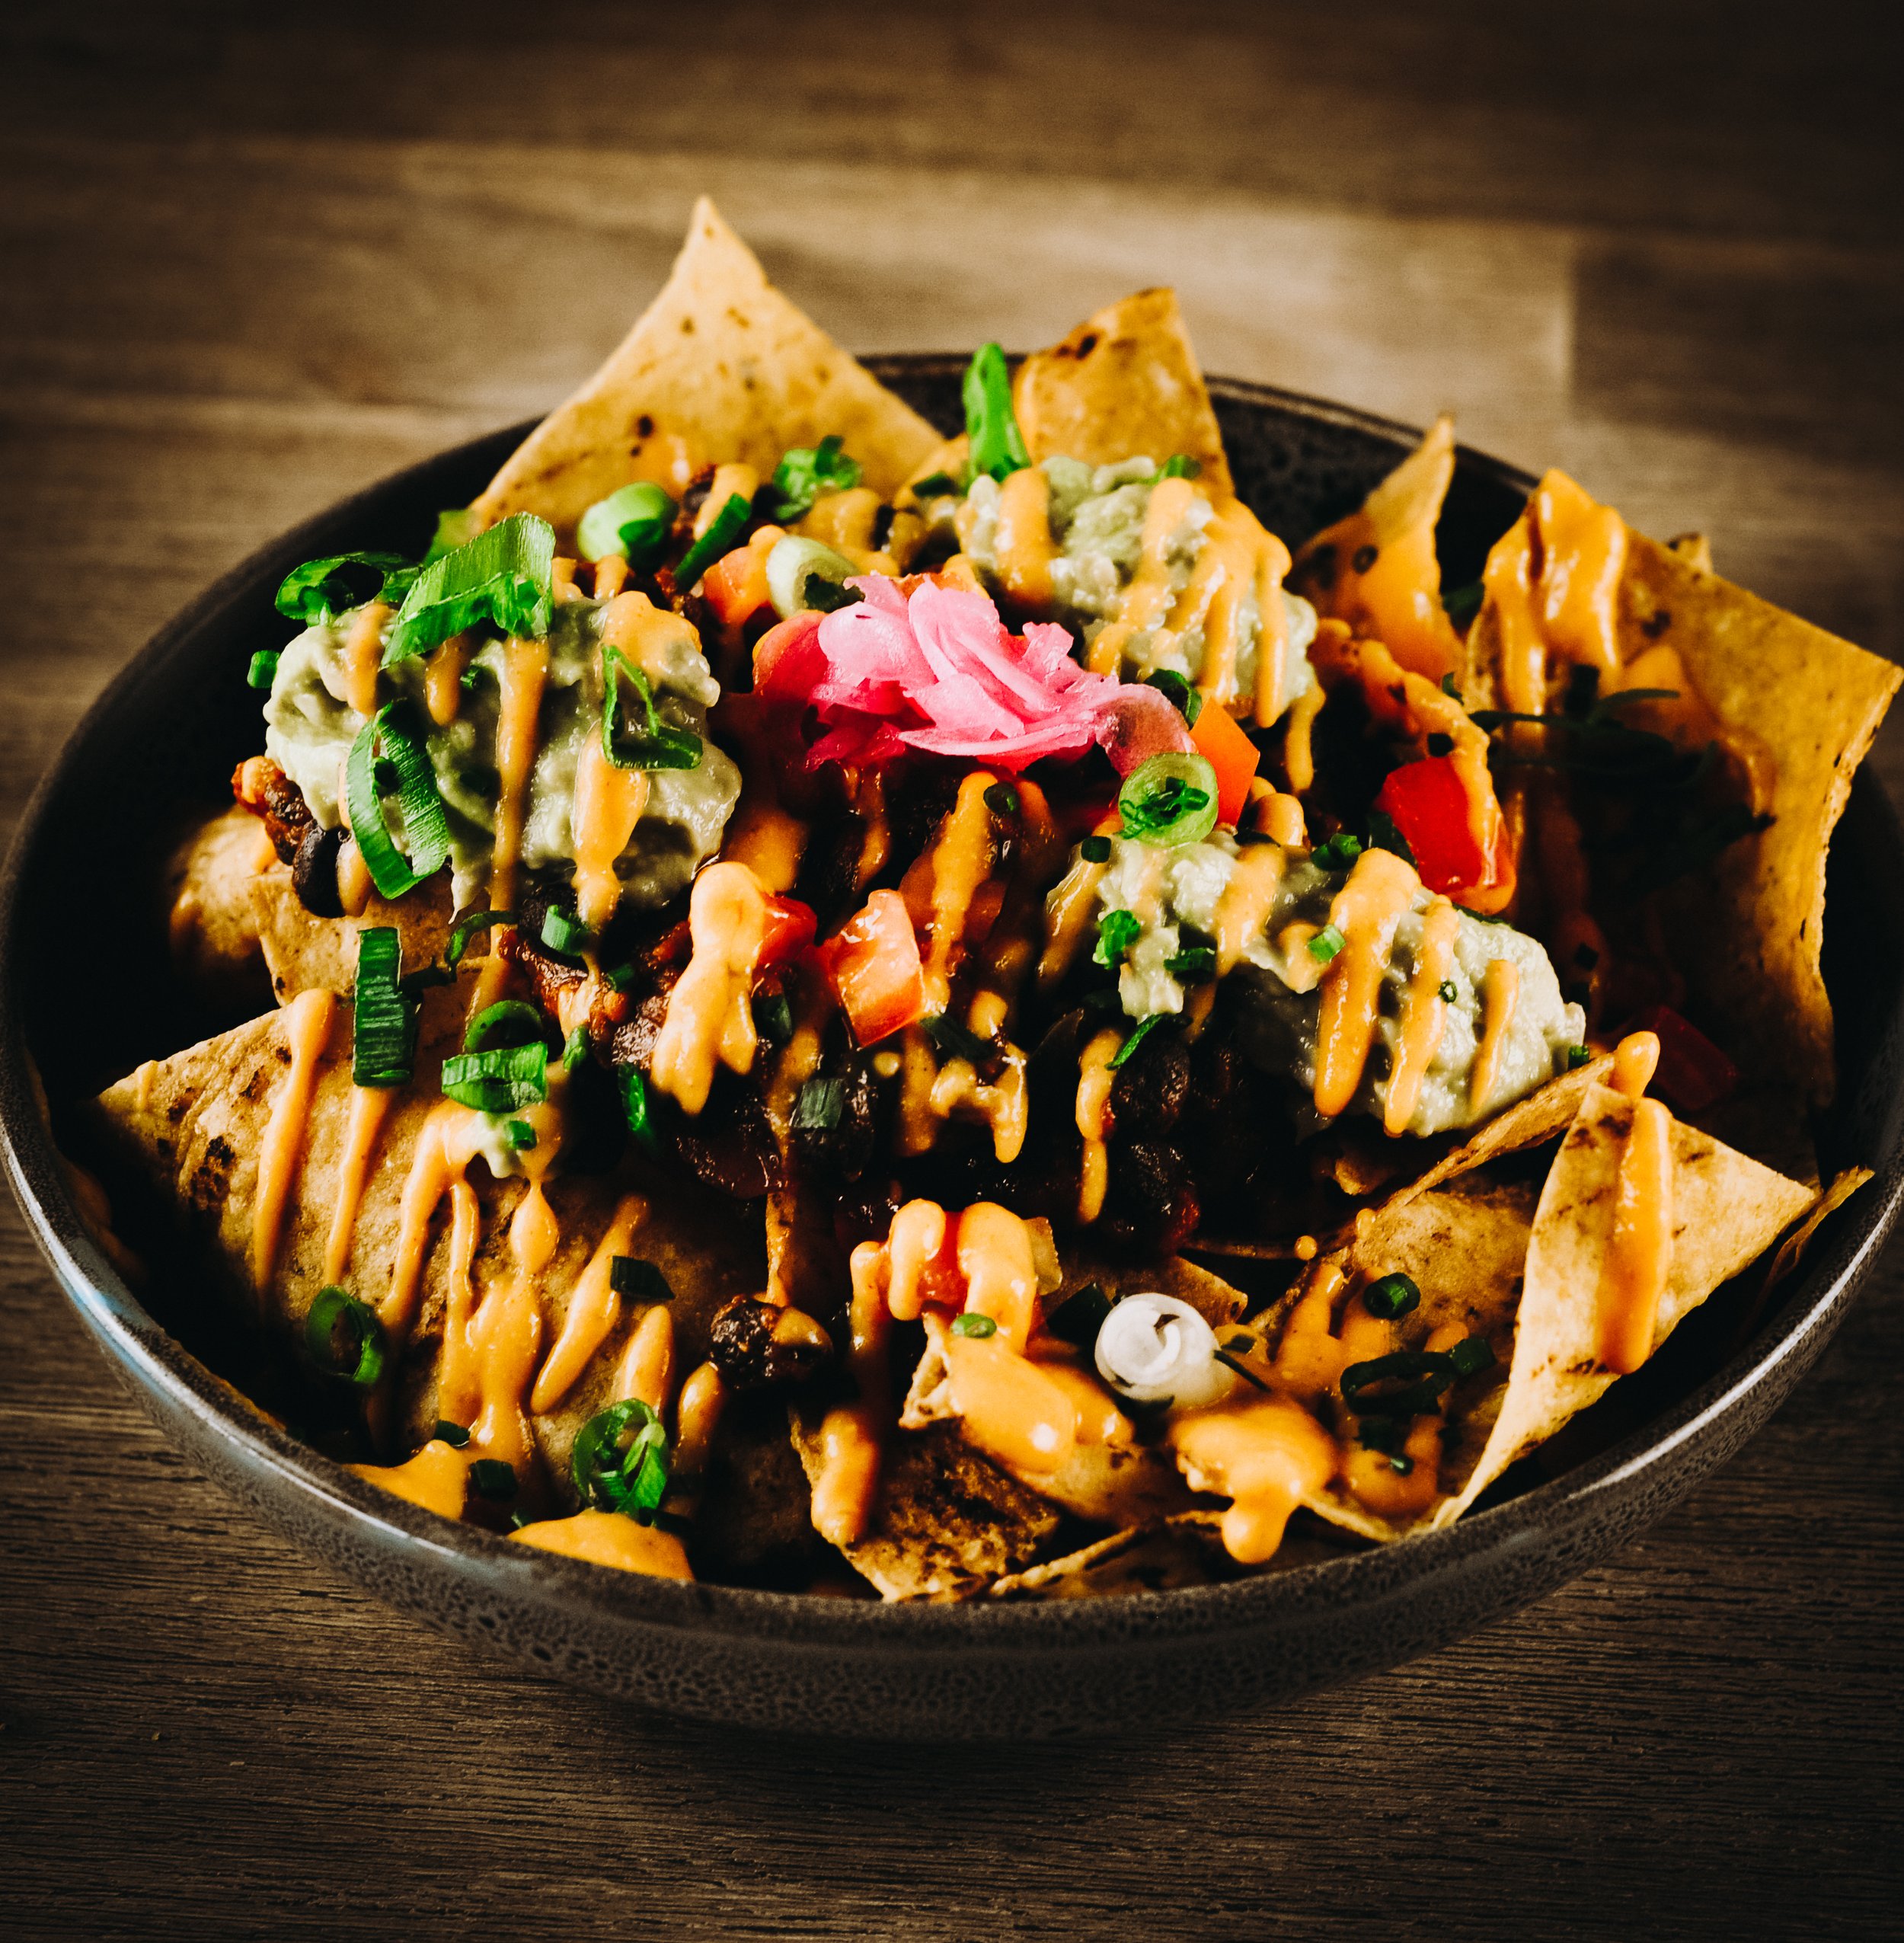
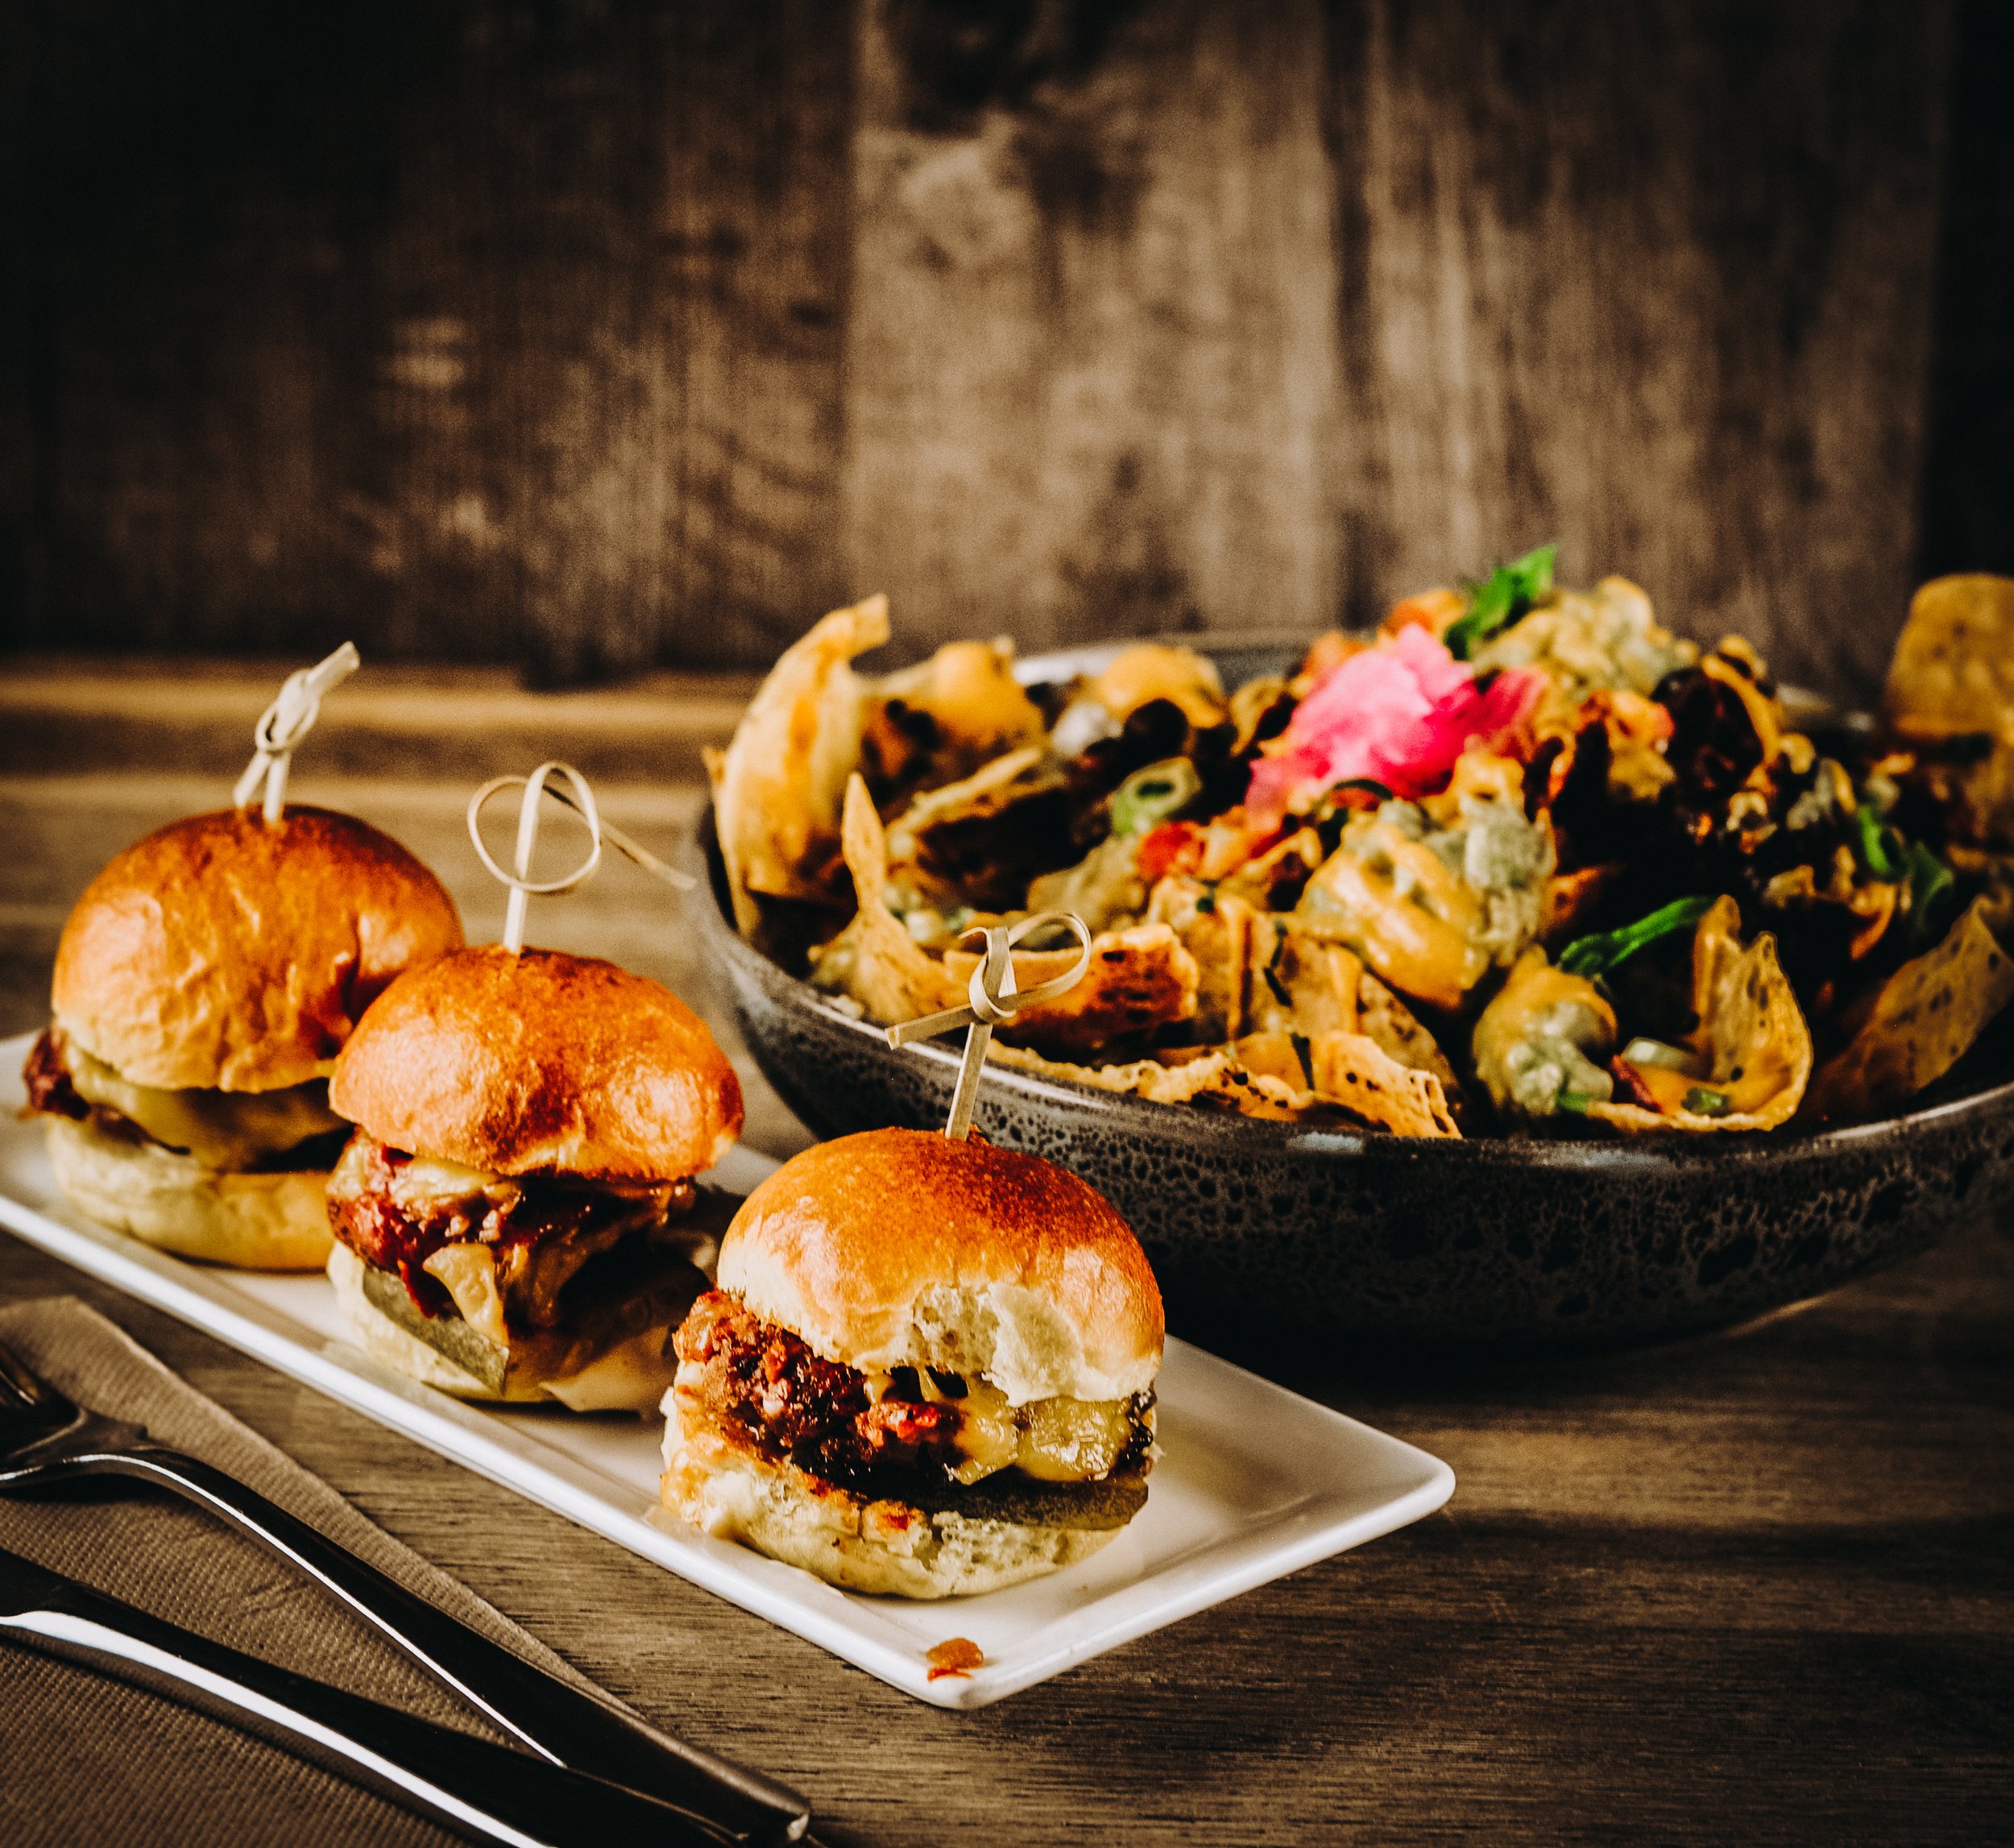
Here are some of my tips on how to shoot food photography, and enjoy some photos I recently took for The Butcher’s Son, a popular restaurant in Auckland City.

Plan your shoot: Before you start shooting, it's important to plan your shoot. This includes selecting your props, background, and lighting. Think about the story you want to tell with your photos and plan your shoot accordingly.
Use natural light: Natural light is the best light for food photography. It provides a soft, diffused light that enhances the colours and textures of the food. Look for a bright window or shoot outside in the shade.
Use a tripod: A tripod is essential for shooting food photography. It helps to keep the camera steady, which is important for achieving sharp, focused images. It also allows you to make small adjustments to the composition without having to hold the camera.
Choose the right angle: The angle you choose to shoot your food from can have a big impact on the final image. The most common angles for food photography are overhead (looking down on the food), 45-degree angle (shooting from a slight angle), and straight-on (shooting from the same level as the food).
Style the food: Styling the food is an important part of food photography. Use props such as plates, cutlery, and napkins to enhance the composition. Add some garnishes or toppings to the food to make it look more appetising.
Use a shallow depth of field: A shallow depth of field can help to make the food stand out in the image. Use a wide aperture (such as f/2.8 or f/4) to create a shallow depth of field and blur the background.
Edit your photos: Editing your photos is an important part of food photography. Use editing software such as Adobe Lightroom or Photoshop to adjust the exposure, contrast, and colours of your photos. Be careful not to over-edit your photos, as this can make them look unrealistic.
Be patient: Food photography can take time and patience. Don't rush the process and take your time to get the best shot. Take multiple photos from different angles and compositions to give yourself plenty of options to choose from.
Be creative: Food photography is a creative process, so don't be afraid to experiment and try new things. Use props and backgrounds that are unique and interesting. Play around with different angles and compositions to create a unique and eye-catching image.
Practice: Practice makes perfect, so keep practicing your food photography skills. Experiment with different lighting, angles, and compositions to find what works best for you.
Shooting food photography requires planning, patience, and creativity.
By using natural light to capture the beauty and texture of the food, and styling the food with props and garnishes, you’ll enhance the composition and end up with some beautiful shots. Edit your photos at the end to adjust the exposure, contrast, and colours to ensure the food looks good enough to eat.
Be patient and take your time to get your final winners. Finally, be creative and experiment with different angles and compositions to create unique and eye-catching images.
With these tips, you can capture stunning food photography that will make your audience's mouths water.